
How to Set Up a Home Recording Space That Meets Professional Standards
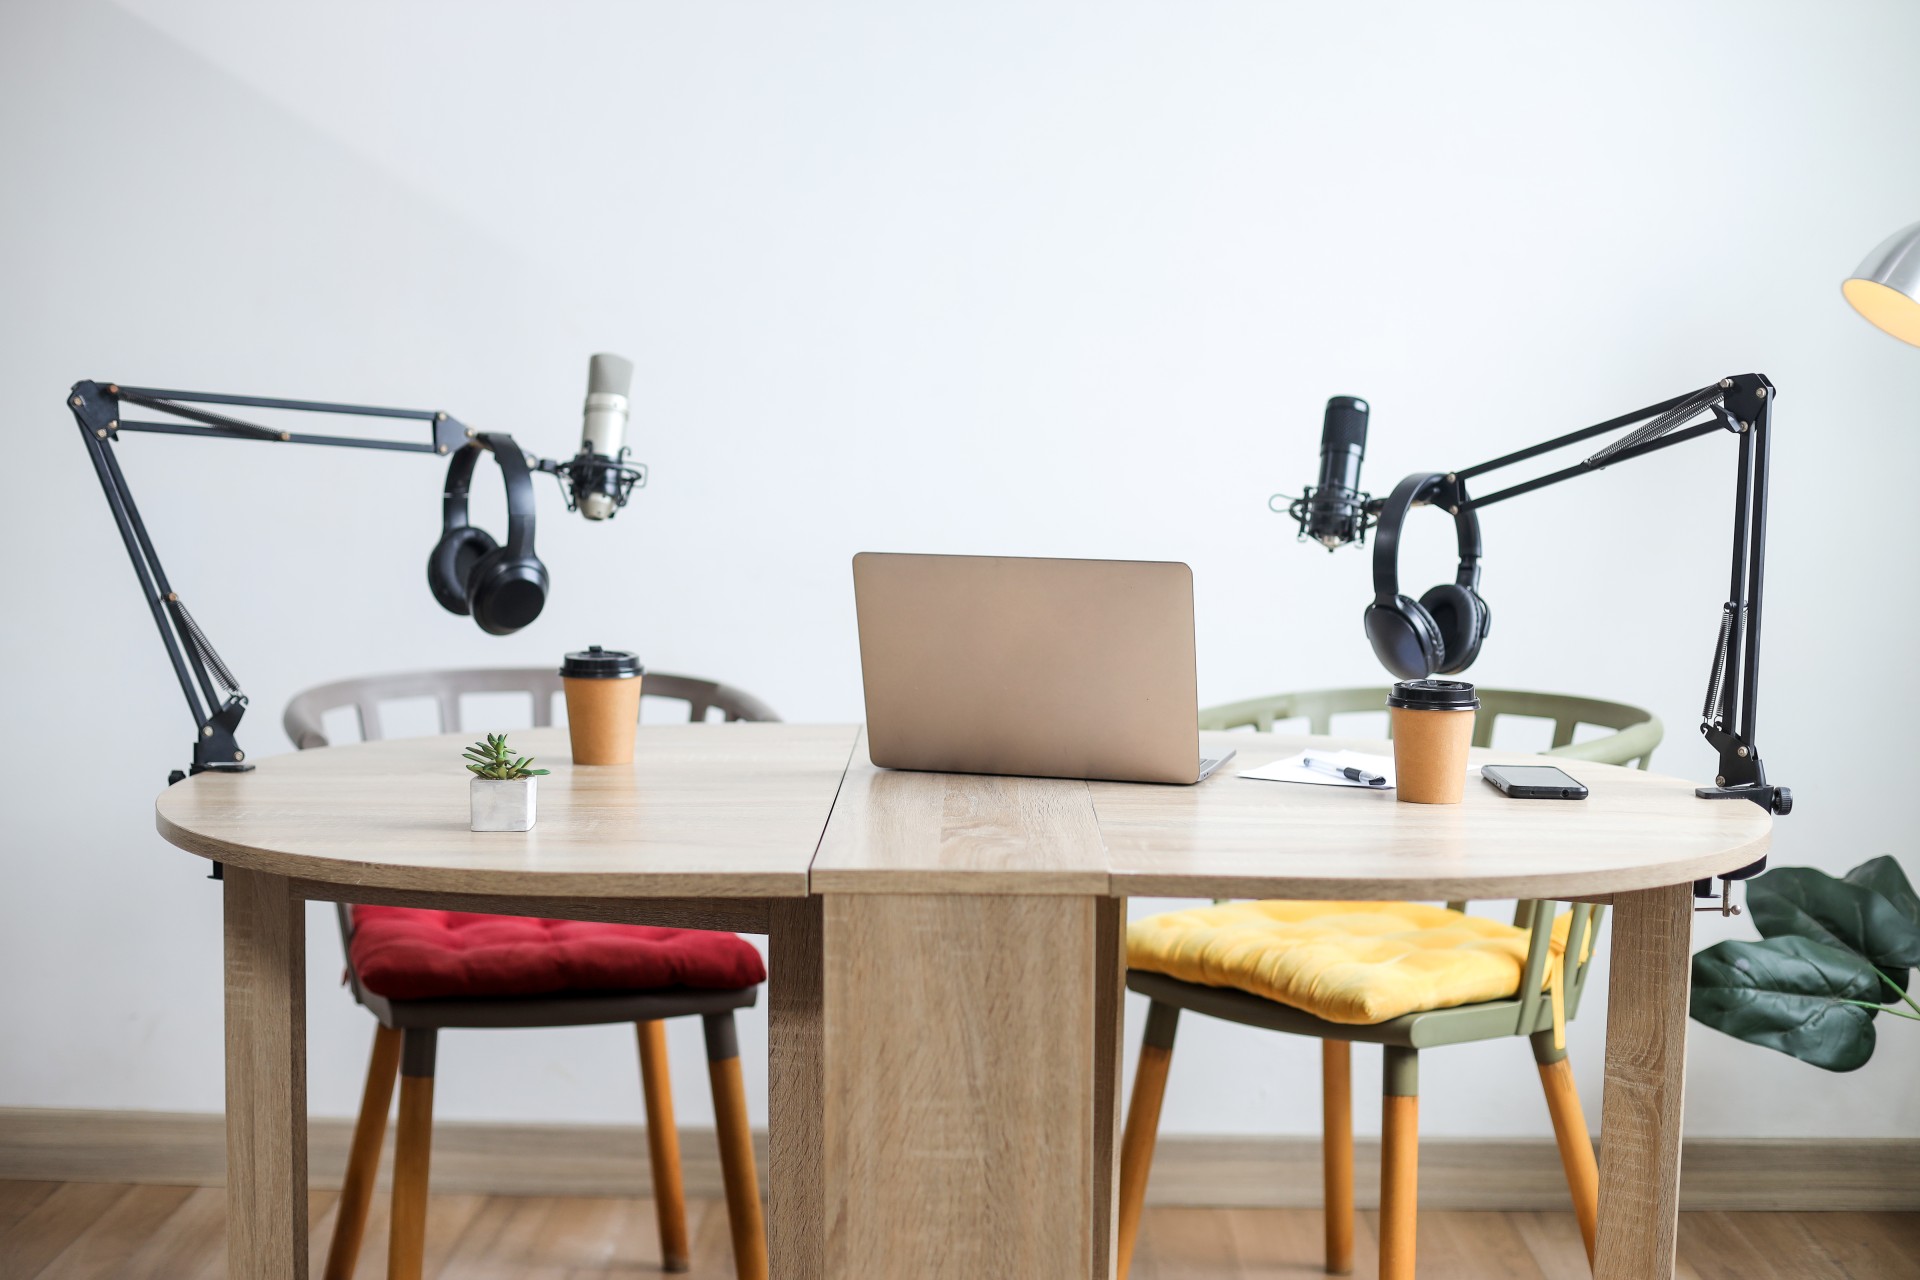
Every creator who takes their podcast or video content seriously eventually arrives at the same question. Can I build a home recording space that genuinely meets professional standards, or do I need a studio? It is an honest question and it deserves an honest answer, one that does not try to sell you on either extreme.
The truth is that a home recording space can get you a significant way toward professional quality if you make the right decisions in the right order. The equally honest truth is that closing the final gap between a well-optimised home setup and a purpose-built professional podcast studio requires a level of investment and technical knowledge that most creators underestimate before they start.
This blog walks through exactly what it takes to build a home recording space that meets professional standards, the order in which to make those decisions, the points at which the effort-to-outcome ratio tips unfavourably, and what the alternative looks like for creators in Mumbai who want professional results without building a professional facility.
Why Most Home Recording Setups Fall Short of Professional Standards
The Problems You Can Hear and the Problems You Cannot
Home recording setups fail in two categories. The first category contains the problems you can hear immediately: background noise from traffic, HVAC systems, or other people in the building; reverb and echo from untreated walls; inconsistent audio levels between sessions; and microphone handling noise from unstable desk placement.
The second category is more subtle and more damaging to content quality over time. These are the problems that are not obviously wrong in isolation but become apparent when your recording is compared to professionally produced content: slight compression artefacts from noise reduction overworking to compensate for a poor acoustic environment, minor but consistent tonal inconsistency across episodes because the room sounds different depending on the weather or what is placed in it, and the cumulative cognitive load on the creator of managing the technical environment while simultaneously trying to produce good content.
The second category is what most home recording guides do not prepare you for because it only becomes visible once you have invested in solving the first category.
The Investment Curve Nobody Prepares You For
The investment curve for a home recording setup is not linear. The first few hundred rupees of investment, a basic microphone and a pop filter for instance, produce a large and immediately audible improvement. Each subsequent investment produces a smaller improvement relative to its cost, until you reach the point where genuinely closing the quality gap between your home setup and a professional studio requires acoustic treatment, room construction modifications, or equipment at a price point that only makes financial sense if you are recording daily.
Understanding this curve before you start spending is the most valuable piece of advice in this entire blog. It will help you make smarter decisions about where to invest, where to stop, and when to route your production budget toward a professional podcast studio rental in Mumbai instead.
The Right Order for Building a Home Recording Space
The single biggest mistake creators make when building a home recording setup is buying equipment in the wrong order. The instinct is to buy the best microphone available because audio quality feels like the primary variable. In practice, the environment matters more than the microphone, and buying an expensive microphone before treating your room produces expensive recordings that still sound like they were made in an untreated room.
The right order is environment first, then microphone, then interface, then monitoring.
Step One: Choose and Treat the Right Room
The most important decision in home recording is which room you record in. The characteristics to look for are small size relative to ceiling height, soft furnishings that naturally absorb sound, minimal parallel hard surfaces that cause flutter echo, and distance from sources of external noise including roads, plumbing, HVAC units, and communal areas.
In a typical Mumbai apartment, the best room is usually a bedroom with a wardrobe full of clothing, which acts as a natural absorber, and a bed with a fabric headboard. The worst rooms are kitchens, bathrooms, and living rooms with hard floors, bare walls, and large glass surfaces.
Once you have chosen the room, the acoustic treatment priority is controlling early reflections, the sound that bounces off nearby surfaces and reaches the microphone within milliseconds of the direct sound. Early reflections create the smearing effect that makes recordings sound like they were made in a room rather than a professionally treated space.
Acoustic foam panels placed at the first reflection points on the side walls, directly to the left and right of where you record, and a bass trap in at least one corner of the room will produce a meaningful improvement in recording quality. This treatment does not need to be comprehensive to be effective. Addressing the most significant reflection points is sufficient for a home setup that will not compete with a purpose-built studio but will produce noticeably cleaner audio than an untreated room.
The cost of basic acoustic treatment for a small room in Mumbai ranges from eight thousand to twenty-five thousand rupees depending on the materials and coverage area. This is the highest-return investment you can make in a home recording setup, and it should come before any microphone purchase above the basic tier.
Step Two: Choose the Right Microphone for Your Environment
Once the room is treated, the microphone choice becomes the second most important decision. The right microphone for a home recording environment is not necessarily the most expensive one or the one with the most professional-looking aesthetic. It is the one whose polar pattern and sensitivity characteristics work best in the specific acoustic conditions of your treated room.
What Type of Microphone Works Best for Home Podcast Recording?
For home podcast recording, a dynamic microphone is almost always the better choice over a condenser microphone, particularly in Mumbai's dense urban environment where some external noise infiltration is unavoidable regardless of treatment. Dynamic microphones are significantly less sensitive to room ambience and off-axis noise, which means they are more forgiving of imperfect acoustic conditions. The Shure SM7B, the Rode PodMic, and the Audio-Technica AT2005USB are widely used by professional podcasters recording outside of dedicated studio environments for exactly this reason.
Condenser microphones, which are the standard choice in professional studio environments with full acoustic treatment, capture more detail and deliver a more open, spacious sound. In a well-treated studio like Fox Talkx Studio, this characteristic is an advantage. In a partially treated home environment, the same sensitivity that makes condensers sound better in ideal conditions makes them more likely to reveal the limitations of the environment.
A quality dynamic microphone for home podcast recording costs between eight thousand and twenty-five thousand rupees. At this price point, the microphone is not the limiting factor in your audio quality. The room is.
Step Three: Audio Interface and Signal Chain
If you are using a microphone that connects via XLR rather than USB, you need an audio interface to convert the analogue signal to digital and connect it to your recording device. For a home podcast setup with one or two microphones, a two-channel interface is sufficient.
The Focusrite Scarlett 2i2 and the Universal Audio Volt series are the most widely recommended interfaces in this tier, both offering clean preamp gain and reliable performance at a price point between six thousand and fifteen thousand rupees. The primary quality variable in an interface at this level is the cleanliness of the preamp, which determines how much noise is introduced into the signal at the gain stage. At the brands mentioned, this is not a meaningful differentiating factor in practice for podcast audio.
The rest of the signal chain, cables, stands, and shock mounts, is worth investing in properly because physical transmission of vibration into the microphone is a common and easily overlooked source of audio problems in home setups. A quality boom arm, a shock mount appropriate for your microphone, and braided XLR cables collectively cost between three thousand and eight thousand rupees and eliminate a category of noise problem that software cannot easily fix.
Step Four: Monitoring Your Audio Accurately
Recording without accurate monitoring is one of the most common mistakes home podcasters make. Your laptop speakers or consumer headphones will not give you an accurate representation of how your audio sounds to listeners using different playback devices. Problems that are inaudible on your laptop speakers, low-frequency room rumble, high-frequency harshness from a bright room, excessive sibilance from microphone placement, become clearly audible on quality headphones or monitors.
Closed-back studio headphones are the most practical monitoring solution for a home recording environment because they prevent headphone bleed into the microphone during recording. The Sony MDR-7506 and the Beyerdynamic DT 770 Pro are industry standards at a price point between eight thousand and fifteen thousand rupees and will reveal accurately what your recording environment and microphone placement are actually producing.
The Lighting Challenge in Home Video Podcast Setups
Audio is the foundation of podcast quality but video lighting is where most home setups reveal themselves most immediately to a viewer. Natural light is the most common solution and the most problematic one. It changes throughout the day, creates harsh shadows when unmodified, shifts colour temperature between morning and afternoon, and disappears entirely after sunset.
A basic three-point lighting setup for home video recording includes a key light as the primary source positioned at roughly 45 degrees to the subject, a fill light on the opposite side to reduce shadows created by the key light, and a back light or rim light behind the subject to separate them from the background.
Entry-level LED panel lights adequate for home video recording are available in Mumbai from twelve thousand to thirty thousand rupees for a two or three light kit. The most important characteristic to look for is adjustable colour temperature, which allows you to match the light to any ambient light in the room and maintain consistency across different times of day.
The honest limitation of a home lighting setup at this price point is consistency across sessions. Recreating the exact same lighting setup each time you record requires careful documentation of your light positions, power settings, and colour temperature values. Most creators do not maintain this discipline rigorously, which produces subtle but visible inconsistency across episodes that, over time, works against the authority signal you are trying to build.
Where the Home Setup Hits Its Ceiling
At this point, a properly optimised home recording space with acoustic treatment, a quality dynamic microphone, a clean audio interface, accurate monitoring, and a consistent three-point lighting setup produces results that are meaningfully better than an untreated, unoptimised home setup. The audio is clean enough for podcast distribution. The video is adequate for standard content.
What it cannot produce, without significant additional investment, is the multi-camera visual variety that professional video podcast content uses to maintain viewer engagement over a long episode. It cannot produce the broadcast-quality 4K resolution that gives editors the flexibility to crop, zoom, and reframe without quality loss. It cannot produce the professional backdrop that signals production investment to a first-time viewer. And it cannot produce the acoustic environment of a purpose-built soundproofed studio, where the silence between words is genuinely silent rather than low-level noise that the noise reduction algorithm is constantly working to suppress.
These are the gaps that separate a good home setup from a professional recording environment, and closing them at home requires investment that most creators would allocate more effectively elsewhere.
A soundproofed, acoustically treated recording room built within an existing apartment requires construction work, specialist materials, and professional installation. Depending on the size and specification, this costs between two and eight lakh rupees in Mumbai and commits you permanently to a single recording location.
A multi-camera 4K setup with professional motorised cameras, multiple lenses, a switching system, and the storage infrastructure to handle large video files adds another one to two lakh rupees to the investment, alongside the technical knowledge required to operate it.
At this cumulative investment level, the economics of booking a professional podcast studio rental in Mumbai on a per-session basis become immediately compelling by comparison.
When a Professional Studio Is the Smarter Choice
The Maths That Most Creators Do Not Run
The financial case for using a professional studio rather than building one at home is straightforward once you run the actual numbers.
A home setup that genuinely meets professional standards for multi-camera video podcast production costs between three and ten lakh rupees to build, depending on the level of acoustic treatment, camera equipment, and lighting infrastructure required. It also requires ongoing maintenance, equipment upgrades as technology evolves, and the opportunity cost of the space it occupies permanently.
A professional studio booking at a full-service facility delivers all of that infrastructure, maintained and operated by a professional team, at a per-session rate that typically recovers the equivalent home build cost only if you are recording daily for two to three years.
For creators publishing two to four episodes per month, the per-session economics of a podcast studio rental in Mumbai at Fox Talkx Studio are significantly more favourable than building a home setup to the same standard. You access 4K multi-camera production, professional audio, broadcast lighting, a 75-inch smart board, a soundproofed recording environment, and editing services, all maintained and operated by a professional team, without capital expenditure, equipment depreciation, or technical overhead.
What Does Fox Talkx Studio Offer That a Home Setup Cannot Replicate Easily?
The Panasonic 4K Professional Camcorder and AIWaft 4K PTZ Camera with 12X optical zoom cover multiple angles simultaneously without requiring a separate camera operator. The Rode Wireless Go II dual-channel wireless microphone system provides clean, broadcast-quality audio for two-speaker sessions without cables creating setup complexity. The combination of Godox SL-60 video lights, HIFFIN RGB portable light wands, and Digitek bi-colour LED panels delivers consistent, broadcast-ready lighting that is pre-set and tested before every session. The 75-inch AIWaft Smart Board enables visual presentation and tutorial recording formats that are genuinely difficult to replicate in a home environment.
All of this is located near Yashraj Studio in Mumbai, easily accessible from the western suburbs and central Mumbai, and available as a single bookable session without technical setup time from the creator.
A Practical Decision Framework for Mumbai Creators
Rather than prescribing one approach for every creator, here is a practical framework for making the right decision based on your specific situation.
Build a home setup if you record daily or near-daily, your content is predominantly audio-only or single-camera video, you have a dedicated room that can be permanently allocated to recording, and your budget allows for the full acoustic treatment and equipment investment without compromising other areas of your business.
Book a professional studio if you publish two to eight episodes per month, your content is video-first and requires multi-camera production for distribution across YouTube and social platforms, you want consistent professional quality across every episode without managing technical variables between sessions, and you want editing included so that the production workflow does not consume time that should be going to content creation.
Use a hybrid approach if your content volume is high enough to justify a home setup for quick turnaround pieces like short-form clips and social content, but your flagship long-form episodes are recorded in a professional studio for the quality and format flexibility that platform requires.
This hybrid model is increasingly common among Mumbai's most productive content creators in 2026. Home setup for speed and convenience on short-form content, professional studio for the long-form cornerstone content that drives authority and audience growth.
The Bottom Line
A home recording space that meets professional standards is achievable, but achievable at a cost and effort level that most creators do not anticipate when they start. The investment in acoustic treatment, microphone, interface, lighting, and monitoring produces real improvements at each stage, and the knowledge gained from building a home setup is genuinely valuable for any creator serious about their craft.
The honest assessment is that the final gap between a well-optimised home setup and a purpose-built professional studio is the most expensive gap to close, and for creators whose content strategy centres on high-quality video podcast production, routing that investment toward professional studio sessions produces better content outcomes at lower total cost.
Fox Talkx Studio in Mumbai exists precisely for this. A fully equipped, soundproofed, professionally lit recording environment near Yashraj Studio, with 4K multi-camera production, broadcast-quality wireless audio, a 75-inch smart board, live streaming capability, and editing services, available to any creator who is serious about producing content that reflects the quality of what they have to say.
Book your session at Fox Talkx Studio and record in an environment where every technical variable is resolved before you sit down, so that your full attention goes exactly where it should be, on the conversation.