
Chroma Key Green Screen: Creating Professional Results with a Portable Chroma Key Setup
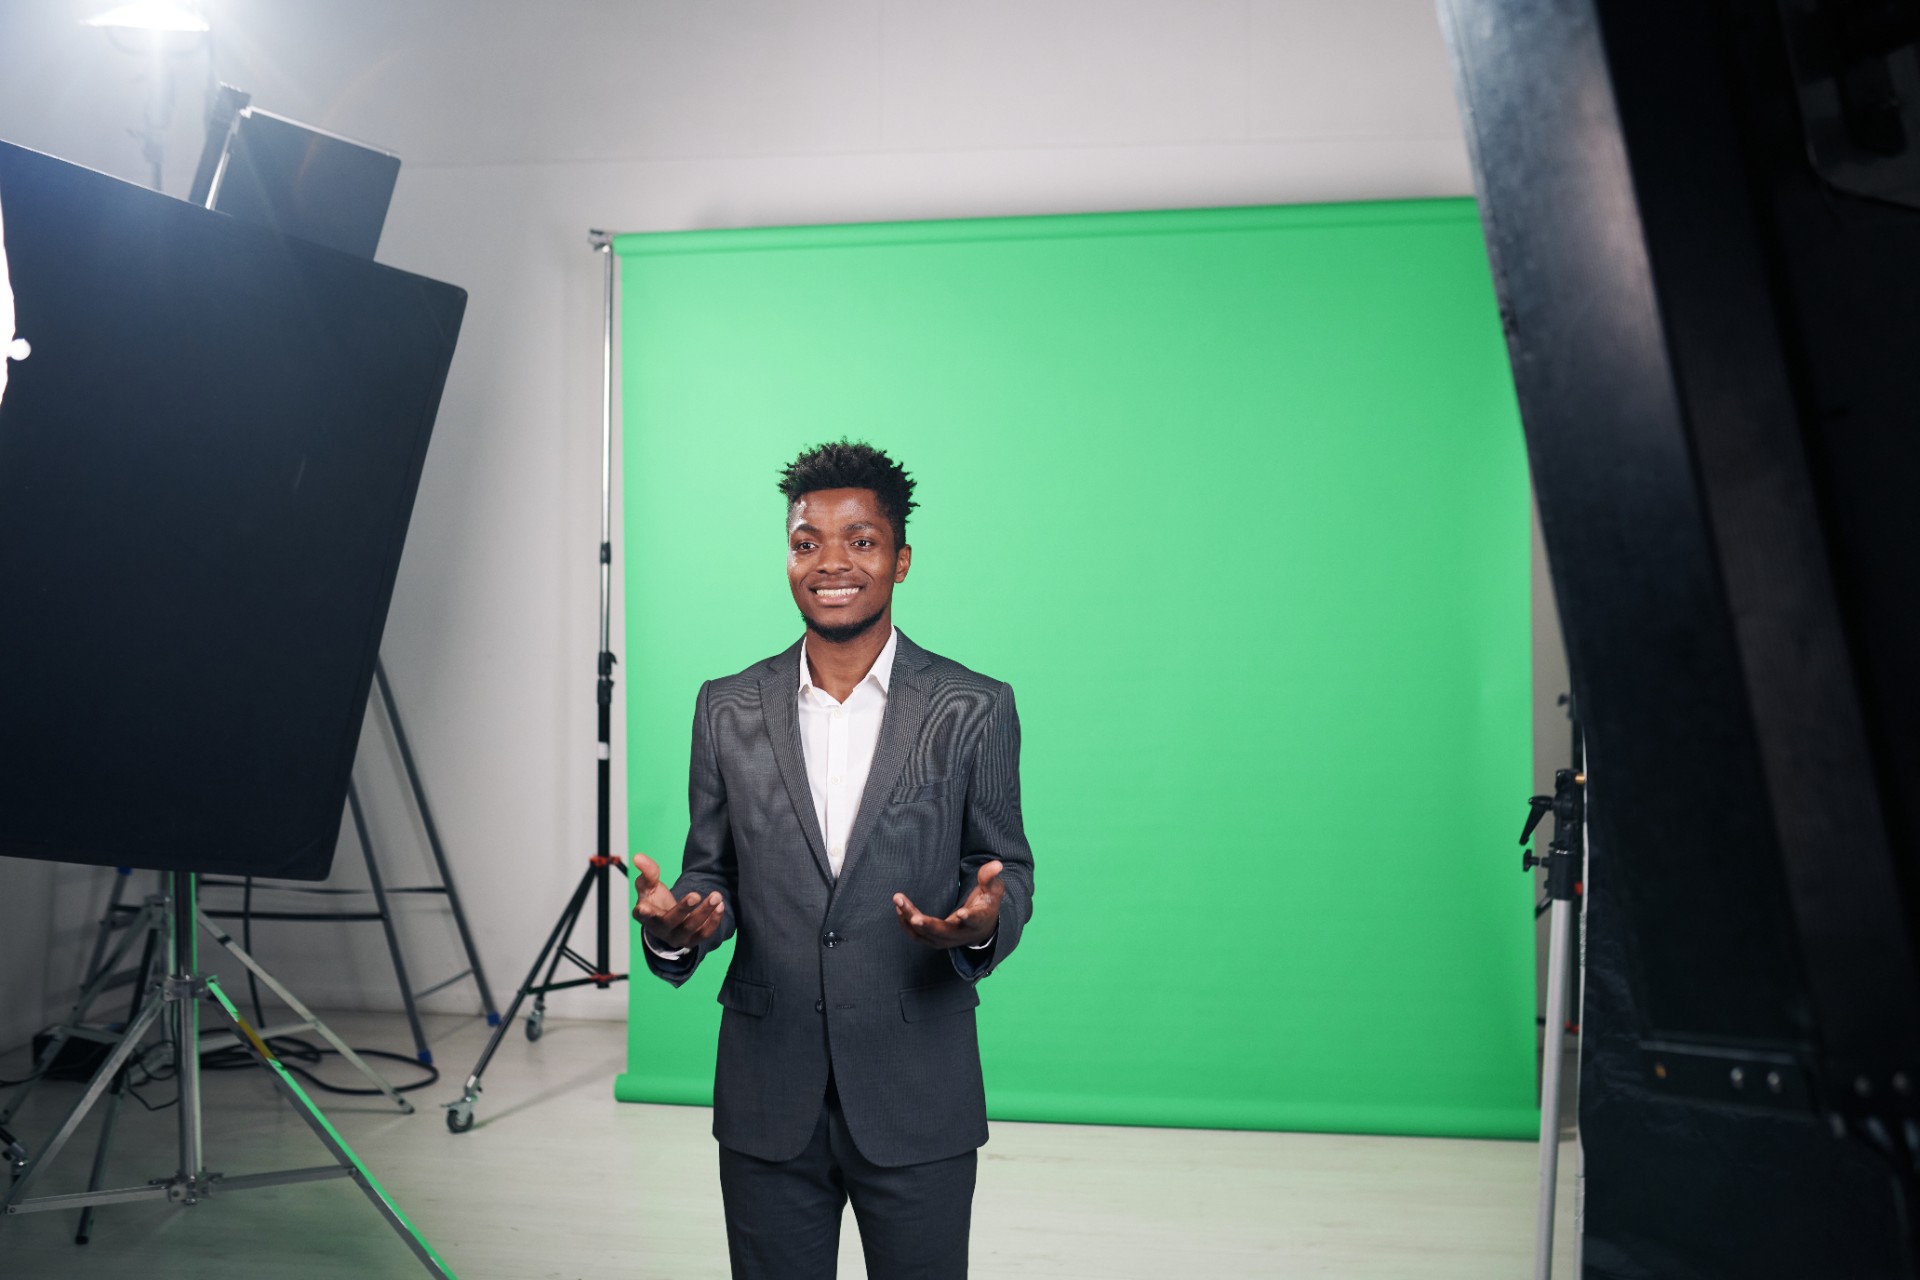
The green screen is one of the most powerful tools in video production, and for a long time it was also one of the most inaccessible. Professional chroma key setups required dedicated studio spaces, permanent lighting rigs, specialized backdrops anchored to ceiling-mounted support systems, and technical expertise that most independent creators, educators, and corporate video producers simply did not have access to.
That has changed significantly. Portable chroma key setups, ranging from collapsible pop-up screens to rollable fabric backdrops and foldable panel systems, have made green screen production accessible to content creators working in temporary spaces, on location, in home offices, and in any environment where a permanent green screen installation is not practical or possible.
But accessibility does not automatically translate to quality. A portable chroma key setup introduces specific challenges that permanent studio installations do not face: the difficulty of achieving consistent, wrinkle-free screen surface quality, the constraints of portable lighting solutions that may not match the output of studio-grade fixtures, and the logistical demands of setting up and breaking down the complete system for each recording session.
This post covers everything you need to know about creating professional chroma key results with a portable green screen setup, from choosing the right portable screen and lighting equipment through the setup process and the post-production keying workflow that produces clean, professional composites from portable production conditions.
Understanding the Specific Challenges of Portable Chroma Key
Before examining the equipment and setup techniques for portable green screen production, understanding the specific challenges that portable setups present, and why they require different approaches from permanent studio installations, provides the foundation for solving those challenges effectively.
The Wrinkle Problem in Portable Screens
The most significant and most consistently impactful challenge in portable green screen production is the wrinkle problem. Permanent studio green screens, whether painted surfaces or tightly mounted fabric installations, present a smooth, wrinkle-free surface that reflects light evenly and produces consistent color across the entire screen area.
Portable fabric screens, by contrast, are stored folded or rolled between uses, and the fabric develops wrinkles and creases from this storage that can be difficult to fully remove before recording. These wrinkles create shadows and highlights on the screen surface that produce tonal variations in the green across the screen area, making it impossible for keying software to remove the entire background cleanly with a single key setting.
The sections of the screen that are in shadow due to wrinkles appear as a darker shade of green. The sections that are highlighted appear as a lighter, more saturated green. When the keying software is set to remove the primary green color, the darker shadow areas and lighter highlight areas may not be included in the key, leaving those sections of the background visible in the composite output.
Managing the wrinkle problem is therefore the first and most critical quality challenge in portable green screen production, and the techniques for addressing it, from pre-use steaming and stretching through lighting approaches that minimize the visual impact of remaining wrinkles, are the foundation of quality portable chroma key results.
Lighting Constraints in Portable Production
The second major challenge in portable green screen production is lighting. A permanent studio green screen installation uses dedicated, large, soft lighting fixtures positioned at calculated distances and angles to illuminate the screen surface as evenly as possible. These fixtures are mounted in fixed positions calibrated for the specific screen size and room geometry, and they remain in place between sessions without requiring setup or adjustment.
Portable production typically relies on battery-powered LED panels, portable softboxes, or other compact lighting solutions that have lower light output, smaller light source areas, and less precise control than studio fixtures. Achieving the even screen illumination that clean keying requires with these more limited tools demands more careful positioning and technique than a studio installation requires.
Color Consistency Between Sessions
A third challenge specific to portable chroma key production is consistency between recording sessions. When the same screen is set up in different locations, under different ambient lighting conditions, or with slightly different positioning of the portable lights, the color and tonal quality of the recorded green may differ between sessions. These differences require the keying parameters to be adjusted for each session, adding complexity to the post-production workflow.
For creators who record multiple episodes or videos with a portable green screen setup and want consistent keying results across all recordings, establishing a repeatable setup protocol that controls the key variables between sessions is an important operational discipline.
Choosing the Right Portable Green Screen
The quality of the portable green screen you choose is the primary determinant of the quality ceiling for your chroma key results. Not all portable screens are equal, and the specific characteristics of the screen material, its construction, and its storage format all affect the quality of results it can produce.
Collapsible Pop-Up Screens
Collapsible pop-up screens use an internal spring frame to hold the fabric in a taut, approximately flat configuration. They are the most portable type of green screen, folding down to a small round case that can be easily transported and setting up in seconds without any additional support hardware.
The primary limitation of collapsible pop-up screens is their size. Most collapsible screens are available in sizes from approximately one to two meters in diameter, which is adequate for tight headshot framings but insufficient for medium shots that show the full upper body or for multi-person setups. Their circular or oval shape can also create challenges for capturing the full rectangular area of the camera frame without showing the edges of the screen.
The surface quality of collapsible pop-up screens varies considerably across products. The best quality collapsible screens use chromakey-specific fabric that maintains consistent color saturation and recovers well from the folding storage without permanent creasing. Lower quality alternatives may develop permanent color inconsistencies or structural deformation from repeated folding.
Rollable Backdrop Screens
Rollable backdrop screens use a retractable mechanism similar to a window blind that allows the screen to be extended to its full height and retracted for storage. They are available in wider sizes than collapsible screens, with widths of one point five to two point four meters being common, and they present a flatter surface than collapsible screens because the fabric is stored rolled rather than folded.
Rolled storage produces fewer permanent creases than folded storage, though the fabric at the core of the roll may develop a slight curl that creates a curve in the lower section of the extended screen. This curve can create shadows that complicate keying of the lower portion of the frame.
Retractable screens require a stand system to hold them at the correct height, adding to the setup time and the total portable kit weight compared to pop-up screens. They are more suitable for creators who are setting up in a consistent location such as a home office or a dedicated recording area rather than for truly location-independent production.
Fabric Backdrop Systems With Stands
Full fabric backdrop systems, where a fabric green screen is attached to a crossbar mounted on two light stands, provide the most flexible and most scalable portable green screen option. These systems are available in widths from one to five meters or more, accommodating everything from tight individual shots to wide group recordings.
The fabric in a backdrop system hangs from the crossbar under gravity, which allows it to naturally relax into a relatively smooth configuration if the fabric has not been stored folded for extended periods. Using a backdrop fabric that is stored rolled around a tube rather than folded minimizes the wrinkles that gravity hanging needs to relax.
The main disadvantages of fabric backdrop systems are their setup complexity, requiring the assembly of the light stand system and the attachment of the fabric to the crossbar, and their sensitivity to air movement, which can cause the fabric to billow and shift during recording.
For podcast creators and video producers in Mumbai who want professional chroma key results without the compromises of portable screen systems, Fox Talkx Studio provides professional recording environments with purpose-built green screen setups available as part of their production services. Explore professional green screen recording and podcast editing services at https://www.foxtalkxstudio.com/services/podcast-editing-in-mumbai.
Setting Up a Portable Green Screen for Best Results
The quality of the setup process is as important as the quality of the equipment in determining the final result. A methodical, consistent setup approach addresses the specific challenges of portable production and maximizes the quality of the keying results achievable from the available equipment.
Step One: Prepare the Screen Surface
Before any lighting or camera setup begins, prepare the screen surface to be as smooth and wrinkle-free as possible. For fabric screens that have been stored folded, use a handheld fabric steamer to relax the wrinkles from the fabric surface. Work systematically across the full surface area of the screen, paying particular attention to the fold lines and crease patterns that appear most prominently.
After steaming, if the screen is a fabric backdrop system, gently stretch the fabric laterally across the crossbar to remove any remaining slack and to encourage the relaxed wrinkles to hang out under gravity. Allow the screen to hang for several minutes after steaming before assessing the remaining wrinkle level.
For screens that are particularly resistant to steaming, a small fan directing gentle air movement across the screen surface can help the steamed fabric relax into a smoother configuration. Do not use heat from a heat gun or iron directly on the screen fabric as this can permanently damage the fabric or alter its color properties.
Step Two: Position the Screen and Establish the Shooting Distance
Position the screen at the location where it will be recorded and establish the distance between the screen and the subject position. As discussed in the main green screen guide, a minimum distance of one to two meters between the subject and the screen is important for minimizing green spill on the subject and allowing the screen lighting to be relatively independent of the subject lighting.
In a portable production context, this distance may be constrained by the available space. If the available space is limited, prioritize minimizing the distance between the subject and any walls or surfaces that might reflect green light back onto the subject, even if this means reducing the subject-to-screen distance somewhat.
Confirm that the screen is large enough to fill the intended camera framing at the intended camera distance before finalizing the screen position. A screen that looks large enough in person may not fill the full camera frame at the actual recording distance, particularly if the camera framing includes significant space above and below the subject.
Step Three: Light the Screen for Maximum Uniformity
Lighting the portable green screen for uniform illumination across its full surface is the most technically demanding aspect of the portable setup. Use the screen lighting approach that your available equipment supports best, applying the fundamental principle that the lights illuminating the screen should not illuminate the subject, and vice versa.
For a standard portable lighting setup, position two LED panels or portable softboxes at approximately forty-five degree angles to the screen surface, one on each side, aimed at the screen surface rather than at the subject position. The lights should be positioned at a height that illuminates the full vertical extent of the screen, from top to bottom, without creating a brightness gradient from the top of the screen to the bottom.
After positioning the lights, assess the uniformity of the screen illumination using the camera's live view rather than visual inspection. View the screen through the camera with the exposure settings adjusted so that the green is visible without being overexposed, and look for variations in brightness or saturation across the screen surface. Adjust the lights until the variation is minimized.
Pay particular attention to the corners and edges of the screen, which are often less evenly illuminated than the center when using portable lighting solutions. If the available lights cannot achieve adequate corner illumination, frame the shot to avoid including the corners of the screen in the camera's field of view.
Step Four: Light the Subject Independently
With the screen lighting established, set up the subject lighting independently from the screen lights. Position the subject lights in front of and to the sides of the subject position, angled away from the screen. A key light on one side and a fill light on the other, with a backlight if available, provides the three-point lighting quality that separates the subject visually from the background and creates a professional look in the composite.
The backlight positioned behind and above the subject is particularly important for portable green screen production because it creates a rim of light on the subject's outline that helps distinguish the subject's edges from the background during keying. Without a backlight, the subject's hair and shoulders can be difficult to key cleanly because the contrast between the subject and the screen may be insufficient at these edges.
Check the subject lighting by viewing the subject through the camera with the screen lighting also active, assessing whether any green light from the screen is creating a visible color cast on the subject's skin, hair, or clothing. If green spill is visible, increase the distance between the subject and the screen or add a negative fill, a black board positioned between the screen and the subject, to block the screen's reflected light from reaching the subject.
Step Five: Configure the Camera Settings
Set the camera to a fixed white balance that matches the color temperature of the subject lighting. Automatic white balance should not be used for green screen recording because it can shift between frames as it responds to the dominant green color of the screen, creating inconsistent keying conditions across the recording.
Set the camera to record at a constant frame rate and the highest quality codec available for the intended post-production workflow. Avoid heavily compressed codecs that reduce color detail in the recording, as this reduced color detail makes clean keying more difficult. For the best keying quality, record in a format that uses 4:2:2 or 4:4:4 color sampling rather than the 4:2:0 color sampling used in many consumer video codecs.
Set the exposure so that the green screen is correctly exposed without being overexposed. An overexposed screen loses color saturation and produces a washed-out green that may be more difficult to key cleanly than a correctly exposed saturated green.
Post-Production Keying for Portable Green Screen Footage
The post-production keying process for portable green screen footage requires more careful attention and more parameter adjustment than footage recorded in a permanent studio installation, because the lighting and surface consistency achieved with portable equipment is typically less precise than what a permanent studio setup produces.
Assessing the Footage Before Keying
Before applying any keying effect, scrub through the full footage to assess the consistency of the green screen across all frames. Look for frames where wrinkles in the screen surface are creating significant shadows, frames where the lighting has changed due to ambient light variations, and frames where the subject's movement has changed the relationship between the subject and the screen.
This pre-keying assessment allows you to identify the most challenging frames in the footage and to set keying parameters that address those challenging frames rather than only the easiest ones. A key that works perfectly on the best frames but fails on the most challenging frames will produce inconsistent results across the full clip.
Applying and Refining the Chroma Key Effect
Apply the keying effect in your editing application, using the color picker to select the primary green color from the screen area of the footage. Begin with the most challenging frame identified in the pre-keying assessment as the reference for parameter adjustment, ensuring that the key parameters are set to handle the most difficult conditions in the footage.
Adjust the key tolerance to include the full range of green tones present in the screen area, including the darker shadow areas created by any remaining wrinkles and the lighter highlight areas. For portable footage with significant tonal variation in the screen, a wider tolerance setting than would be used for studio footage may be necessary to capture the full range of the screen area.
Apply edge softening to create a natural, anti-aliased edge at the subject's outline that blends naturally with the replacement background. For portable footage where the screen-to-subject distance may be shorter than ideal, additional spill suppression may be needed to reduce green color contamination on the subject's edges.
For podcast creators and video producers in Mumbai who want their green screen footage keyed and composited to a professional standard as part of a complete post-production service, Fox Talkx Studio provides the technical expertise to deliver clean, professional composites from any quality of source footage. Explore professional video editing and post-production services at https://www.foxtalkxstudio.com/services/podcast-editing-in-mumbai.
Choosing and Positioning the Replacement Background
The replacement background placed behind the keyed subject should be chosen with specific attention to its compatibility with the lighting and perspective of the subject footage. A background that appears to have a different light source direction from the subject, or a perspective that does not match the camera angle used to record the subject, will create a visually implausible composite that no amount of keying quality can overcome.
For the most visually convincing results, the replacement background should have a light source that is consistent with the key light direction used to illuminate the subject, a perspective that matches the camera height and angle used to record the subject, and a depth of field appropriate to the focal length of the recording camera.
Building a Repeatable Portable Green Screen Workflow
For content creators who use a portable green screen setup regularly, developing a repeatable workflow with documented setup procedures, consistent equipment configurations, and standardized post-production keying parameters produces more consistent results across multiple sessions than an ad hoc approach.
Document the positions, heights, and output settings of the portable lights used for each session. Note the camera settings including white balance, ISO, aperture, and shutter speed that produced the best screen uniformity. Record the keying parameters that worked best for the footage from that setup so that they can be used as a starting point for subsequent sessions recorded with the same equipment in similar conditions.
This workflow documentation converts the lessons learned from each session into reusable knowledge that reduces the setup time and the post-production refinement effort for every subsequent session.
Key Takeaways
Creating professional chroma key results with a portable green screen setup requires understanding and systematically addressing the specific challenges that portable production presents: the wrinkle problem, the lighting constraints, and the consistency challenges of a mobile setup.
Choosing the right portable screen type for the specific production context, preparing the screen surface meticulously before recording, lighting the screen and the subject independently with deliberate attention to uniformity and spill control, and configuring the camera for maximum color quality in the recorded footage are the foundational practices that produce the best possible source material for post-production keying.
The post-production keying process for portable footage requires more careful assessment and parameter refinement than studio footage but can produce clean, professional composites when the source footage has been captured correctly and the keying workflow is applied with attention to the specific challenges of the footage.
For video creators in Mumbai who want professional green screen compositing handled as part of a complete post-production service, or who want to record in a professional studio green screen environment rather than working with a portable setup, Fox Talkx Studio provides the production facilities and technical expertise for both approaches. Visit https://www.foxtalkxstudio.com/services/podcast-editing-in-mumbai to explore what professional video recording and editing looks like for your content.