
How to Edit OBS Recordings: A Complete Guide for Podcast and Video Creators
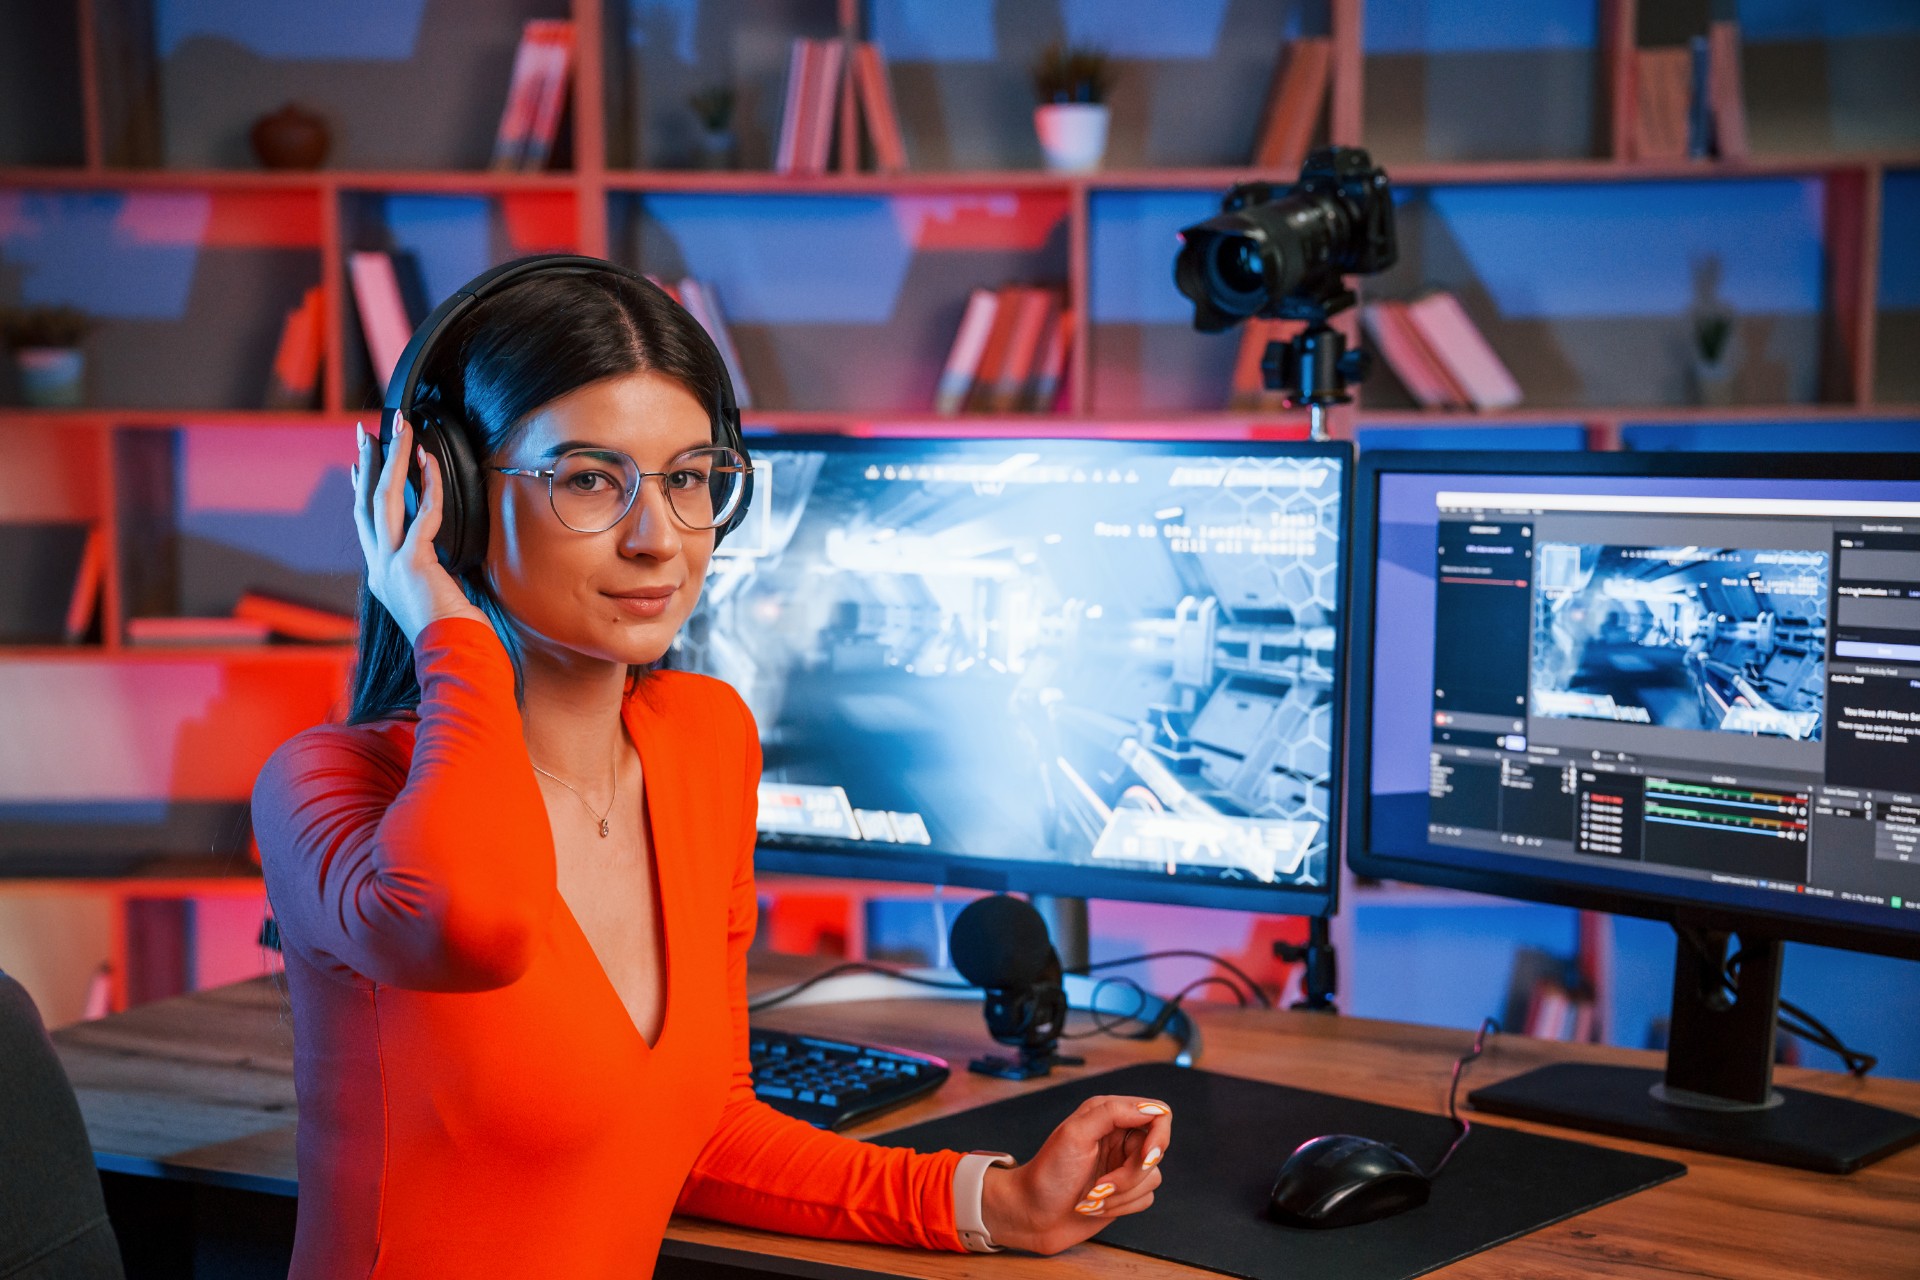
OBS Studio, the open-source broadcasting and recording software, has become one of the most widely used tools for recording video content across gaming, podcasting, online courses, corporate presentations, and live streaming. Its combination of powerful features, extensive customization, and zero cost makes it the recording tool of choice for an enormous range of content creators who might otherwise need to invest in expensive dedicated recording hardware or software.
But OBS is a recording tool, not an editing tool. The raw recordings that OBS produces are unedited source files that need to go through a post-production workflow to become the polished, professional content that builds audiences and serves the specific purposes for which the content was created. Understanding how to correctly edit OBS recordings, which tools to use, how to address the specific technical characteristics of OBS output files, and how to build an efficient post-production workflow around OBS-recorded content is what this guide is about.
Whether you are recording podcast episodes, online courses, corporate presentations, tutorial videos, or any other type of content with OBS, the editing principles and workflow stages covered in this post apply to your production. The specific steps may vary depending on your chosen editing application, but the underlying approach is consistent across tools.
Understanding OBS Recording Output: What You Are Working With
Before beginning the editing process, understanding the technical characteristics of OBS recordings and how they affect the post-production workflow helps you make informed decisions about the editing tools and settings you will use.
OBS Output File Formats and Their Implications
OBS records to several different file formats depending on its configuration, with the most commonly used being MKV, MP4, MOV, and FLV. Each format has different characteristics that affect how the recording behaves during the editing process.
MKV is the default recording format in OBS Studio and is recommended by the OBS developers because it handles unexpected recording interruptions more gracefully than MP4. If OBS crashes or the recording is interrupted while recording to MP4, the file may be corrupted and unreadable. An interrupted MKV recording can typically be recovered and made playable even without being properly finalized, which makes it a safer choice for long recordings where an interruption could result in significant lost content.
The disadvantage of MKV is that it is not as universally supported by editing software as MP4, and some editing applications may not natively open MKV files without conversion. If you record in MKV format, converting the recording to MP4 using the OBS Remux function before importing it into your editing application is a recommended step that ensures broad compatibility without any quality loss.
MP4 is the most compatible format for editing software but is more vulnerable to data loss if the recording is interrupted before the file is properly closed. For recordings of consistent, known duration where interruption is unlikely, MP4 recording in OBS is a reasonable choice that eliminates the need for remuxing before editing.
MOV format, native to Apple's QuickTime, is supported by most professional editing applications and is a reasonable recording format choice for creators working in Apple-centric production environments.
Common Technical Issues in OBS Recordings
OBS recordings frequently exhibit specific technical characteristics that require attention during the post-production editing process.
Variable frame rate encoding is one of the most significant technical issues in OBS recordings. When OBS is recording a screen that is not updating at a perfectly consistent rate, or when the recording computer does not have sufficient processing power to maintain a constant frame rate, the resulting recording may have a variable frame rate where some frames last longer than others. Variable frame rate recordings can cause audio-video synchronization problems and playback issues in editing applications that expect constant frame rate input.
The solution to variable frame rate issues is to convert the OBS recording to constant frame rate before importing it into the editing application. Tools including Handbrake, FFmpeg, and the OBS Remux function can convert variable frame rate recordings to constant frame rate with minimal quality loss.
Audio track configuration in OBS allows multiple audio sources to be recorded to separate tracks simultaneously. A typical podcast recording in OBS might capture the host's microphone on track one, desktop audio on track two, and guest audio from a video conferencing application on track three. Understanding how the audio tracks in the OBS recording are configured, and how to access and edit separate audio tracks in the editing application, is essential for managing the audio of a multi-source OBS podcast recording effectively.
Remuxing OBS MKV Recordings Before Editing
If your OBS recordings are in MKV format, the first step before any editing is to remux them to MP4 using OBS's built-in Remux Recordings function. Remuxing changes the container format of the file from MKV to MP4 without re-encoding the video or audio content, which means there is no quality loss in the process and the operation completes very quickly regardless of the file size.
To remux an OBS recording, open OBS Studio, navigate to File in the menu bar, and select Remux Recordings. In the Remux Recordings dialog, click the folder icon to browse for the MKV file to be remuxed, select it, and click Remux. OBS creates a new MP4 file in the same folder as the original MKV, with the same filename but the MP4 extension. The original MKV file is preserved and is not deleted or modified by the remux operation.
After remuxing, verify that the MP4 file plays correctly with correct audio-video synchronization before proceeding to the editing stage. If the remuxed file has synchronization issues, the original MKV recording can be opened directly in a compatible editing application or converted using a tool with more granular synchronization correction options.
Setting Up Your Editing Project for OBS Recordings
With the OBS recording correctly prepared in a compatible format, the editing project setup stage ensures that the technical parameters of the editing environment match the recording specifications.
Choosing the Right Editing Application for OBS Footage
The choice of editing application for OBS recordings depends on the content type, the complexity of the editing required, and the creator's technical familiarity with editing software.
For podcast video recordings made with OBS, the editing requirements typically include the removal of the opening and closing sections of the recording, the elimination of errors and technical pauses from the main content, the balancing and processing of multiple audio tracks, the addition of lower thirds and other graphic elements, color correction, and export in the correct format for distribution. These requirements are well-served by any professional editing application including Adobe Premiere Pro, DaVinci Resolve, and Final Cut Pro.
For screen recording tutorial content, the editing requirements also include precise trimming of individual steps, the possible addition of zoom effects to highlight specific screen areas, and the integration of narration audio with the screen recording video. DaVinci Resolve and Adobe Premiere Pro both handle these requirements well, with Descript offering an additional advantage for tutorial content through its transcript-based editing interface that allows edits to be made by editing the transcribed narration text.
For gaming content recorded with OBS, specialized editing applications designed for gaming content including DaVinci Resolve with its gaming-specific color grading tools or dedicated gaming video editors may be more appropriate than general-purpose professional editing applications.
Creating the Project with Correct Settings
Create a new project in the chosen editing application with settings that match the technical specifications of the OBS recording: the resolution at which OBS was configured to record, the frame rate setting in OBS, and the audio sample rate.
OBS is commonly configured to record at 1920x1080 resolution at a frame rate of thirty or sixty frames per second for most content types, and at 1280x720 at thirty frames per second for content where processing power constraints require a lower recording resolution.
Creating the editing project at the same resolution and frame rate as the OBS recording ensures that the footage plays natively in the editing timeline without any up-scaling, down-scaling, or frame rate conversion that could introduce quality loss or motion artifacts.
For podcast creators in Mumbai who want their OBS recordings edited professionally as part of a complete post-production service, Fox Talkx Studio provides expert editing of recordings from any source including OBS. Explore what professional podcast editing looks like for your content at https://www.foxtalkxstudio.com/services/podcast-editing-in-mumbai.
Editing the Audio of OBS Recordings
The audio editing of OBS recordings is often the most time-consuming and technically demanding aspect of the post-production process, particularly for podcast recordings where multiple audio sources were captured on separate OBS audio tracks.
Accessing and Separating Multiple Audio Tracks
OBS recordings with multiple audio tracks appear in the editing timeline as a single video file, but the multiple audio tracks within the file are accessible as separate audio channels that can be routed to independent audio tracks in the editing timeline.
In Adobe Premiere Pro, when an OBS recording with multiple audio tracks is imported, the audio tracks within the file are accessible through the clip's audio channels. Right-clicking on the clip in the Project panel and selecting Modify and then Audio Channels opens the dialog for configuring how the multiple audio channels are mapped to tracks in the editing timeline.
In DaVinci Resolve, multi-track audio files imported into the timeline are accessible through the audio track expansion in the timeline. Each audio track recorded in OBS appears as a separate expandable lane within the clip's audio section, and individual tracks can be routed to dedicated audio tracks in the timeline for independent processing.
Separating each audio source onto its own independent timeline track before beginning any audio editing is the essential first step for multi-track OBS podcast recordings. Working with audio sources on separate tracks allows each source to be processed independently with the specific equalization, compression, and noise reduction settings that its recording conditions require, rather than applying uniform processing to a mixed composite of all audio sources.
Processing Audio from OBS Recordings
OBS recordings frequently require significant audio processing before they reach a professional broadcast quality. Desktop audio sources mixed with microphone audio may have very different levels. Microphone audio recorded in a home environment may have significant background noise. Audio from guests on video conferencing applications may have the quality limitations of the streaming compression applied by the conferencing platform.
Each of these audio sources should be processed separately with the tools appropriate to its specific quality characteristics. Microphone audio from a home recording environment typically benefits from noise reduction to address background noise, equalization to improve clarity and warmth, compression to manage dynamic range, and de-essing to reduce harsh sibilant sounds. Desktop audio sources may need only level adjustment and high-pass filtering to remove low-frequency rumble.
Guest audio recorded from a video conferencing application may arrive with limited frequency range, processing artifacts from the conferencing platform's audio compression, and a thin quality that is difficult to improve significantly through equalization alone. Positioning this audio appropriately in the mix, giving it less prominence when the conversation dynamics allow, can partially compensate for its lower intrinsic quality without drawing attention to the quality limitation.
Synchronizing Multiple Audio Sources
When OBS has been used to capture audio from multiple sources recorded simultaneously, such as a podcast host's local microphone audio and guest audio from a remote recording, verifying and if necessary correcting the synchronization between these sources is a critical step that must be completed before any content editing begins.
Audio recorded locally through OBS should be in sync with the video recorded in the same OBS session. Audio from remote participants recorded through OBS's desktop audio capture may have introduced latency from the conferencing platform that creates a slight offset between the audio and video. Identifying and correcting this offset before content editing ensures that the dialogue exchanges between host and guest are correctly timed in the finished edit.
Editing the Video Content of OBS Recordings
With the audio tracks correctly configured and prepared, the video content editing process removes unwanted sections, refines the pacing, and builds the finished episode from the raw recording.
Identifying and Removing Unwanted Content
The first pass through an OBS recording identifies and marks all sections that will be removed from the finished content: the technical setup and soundcheck period at the beginning of the recording before the content began, technical interruptions during the recording such as connectivity issues or equipment problems, false starts and repeated sections where the presenter restarted a segment, extended pauses and conversational dead ends that do not serve the finished content, and the wind-down period after the main content concluded.
Creating an edit decision list during this review pass, noting the timecode of each section to be removed and the nature of the removal, provides a clear plan for the editing pass that follows and ensures that no unwanted sections are inadvertently preserved in the finished edit.
Editing Screen Recordings and Tutorial Content
For OBS recordings that capture screen content for tutorial or educational purposes, the editing process has specific considerations that differ from editing talking head or interview content.
Screen recordings require careful review to identify and remove mouse movements that are unnecessarily slow or exploratory, navigation steps that were retraced or corrected during recording, extended loading or processing waits that interrupt the instructional flow, and cursor movements that traverse the screen without purpose.
Zoom and highlight effects that draw the viewer's attention to specific areas of the screen being demonstrated, applied as motion effects or through dedicated screen recording editing tools, improve the instructional clarity of the content by ensuring that the viewer's attention is focused on the specific element being discussed at each moment.
Adding chapter markers or section titles to screen recording tutorial content improves navigation for learners who need to return to specific sections, and the text of these markers can be derived from the narration transcript to ensure they accurately reflect the content of each section.
Adding Graphics and Visual Elements to OBS Recordings
OBS recordings for podcast content typically require the addition of graphic elements in post-production: lower thirds that identify speakers, intro and outro sequences that establish and close the episode, chapter title cards that mark major section transitions, and any visual inserts that support the spoken content.
For OBS screen recordings used as educational content, graphic elements including call-out boxes that highlight specific screen areas, animated arrows that indicate the location of the interface element being discussed, and progress indicators that show viewers where they are in a multi-step process all improve the instructional effectiveness of the finished video.
Creating reusable templates for each of these graphic elements ensures visual consistency across multiple episodes or training videos and reduces the production time required to add graphic elements to each new recording.
Color Grading OBS Recordings
Color grading OBS recordings presents specific challenges that differ from grading camera recordings because the image characteristics of OBS screen and webcam recordings are fundamentally different from those of dedicated video cameras.
Grading Webcam Footage From OBS
Webcam footage captured through OBS typically has a flatter, lower-contrast appearance than footage from dedicated video cameras, with color characteristics that depend heavily on the auto-exposure and auto-white balance behavior of the webcam being used. OBS's automatic color correction features may have been applied to the webcam source during recording, which can limit the flexibility available for color grading in post-production.
Normalizing the exposure and white balance of the webcam footage as the first step in color correction provides a technically accurate baseline for subsequent grading. Applying a gentle contrast and saturation increase to the corrected baseline brings the webcam footage closer to the visual quality of camera footage without over-processing it to an obviously artificial appearance.
For multi-camera setups where OBS is capturing webcam footage from multiple participants, matching the color characteristics of each participant's webcam footage to each other is a significant quality improvement for podcast video content. Participants recorded with different webcam models in different lighting environments will have noticeably different color characteristics that create visual inconsistency in the finished edit without color matching.
Grading Screen Recording Footage
Screen recording footage from OBS typically does not require conventional color grading in the way that camera footage does. Screen content is already displayed in a specified color profile with consistent brightness and contrast determined by the display settings of the recording computer.
However, screen recordings may benefit from a slight contrast boost that makes the interface elements more legible and visually distinct in the video output, and a brightness adjustment that compensates for the slight darkening that video encoding can introduce to screen content with very bright interface elements.
For podcast creators and video content producers in Mumbai who want their OBS recordings edited and color graded to a professional standard, Fox Talkx Studio provides comprehensive post-production services that handle every technical and creative dimension of OBS recording editing. Discover what professional editing looks like for your OBS-recorded content at https://www.foxtalkxstudio.com/services/podcast-editing-in-mumbai.
Exporting Edited OBS Recordings for Distribution
The export settings for edited OBS recordings depend on the intended distribution platform and the quality requirements of each context.
Export Settings for YouTube Distribution
For podcast video and tutorial content distributed on YouTube, exporting the finished edit at 1080p resolution in H.264 format at a bitrate appropriate for the visual complexity of the content is the standard approach. YouTube re-encodes all uploaded content to its own delivery formats, so the bitrate of the uploaded file needs to be high enough to preserve visual quality through YouTube's encoding process without creating an unnecessarily large file that takes extended time to upload.
YouTube's recommended upload bitrates for 1080p content range from eight to twelve megabits per second for standard dynamic range content, with higher bitrates recommended for content with significant motion or screen recording detail.
Export Settings for Podcast Platforms
For audio podcast distribution from OBS recordings, the audio track of the edited video is exported separately as an MP3 or AAC file at the bitrate specified by the target podcast hosting platform. Most podcast platforms accept MP3 files at one hundred and twenty-eight kilobits per second for mono audio or at two hundred and fifty-six kilobits per second for stereo audio.
Export Settings for Social Media Clips
For short-form social media clips derived from OBS recordings, the export settings must match the specific technical requirements of each target platform. Instagram Reels and YouTube Shorts require vertical nine-by-sixteen format at 1080x1920 resolution. LinkedIn video accepts multiple aspect ratios including the standard sixteen-by-nine horizontal format.
Key Takeaways
Editing OBS recordings effectively requires understanding the specific technical characteristics of OBS output files, preparing those files correctly before importing them into the editing application, and applying a systematic post-production workflow that addresses audio, video, graphics, color, and export in the correct sequence.
The most important technical preparation steps are remuxing MKV recordings to MP4 using OBS's Remux function, converting variable frame rate recordings to constant frame rate before editing, and configuring the editing project settings to match the OBS recording specifications.
Audio editing for OBS podcast recordings requires separating multiple audio tracks, processing each source independently with appropriate noise reduction, equalization, and compression, and verifying synchronization between multiple audio sources before content editing begins.
Video editing follows the standard post-production workflow of content review and removal, pacing refinement, graphic addition, color correction, quality control review, and platform-specific export.
For podcast creators and video content producers in Mumbai who want their OBS recordings edited to a professional broadcast standard as part of a complete post-production service, Fox Talkx Studio provides the technical expertise and editorial quality that professional content demands. Visit https://www.foxtalkxstudio.com/services/podcast-editing-in-mumbai to explore what professional OBS recording editing looks like for your content.