
How to Improve Video Editing Performance with Proxy Video: A Complete Guide
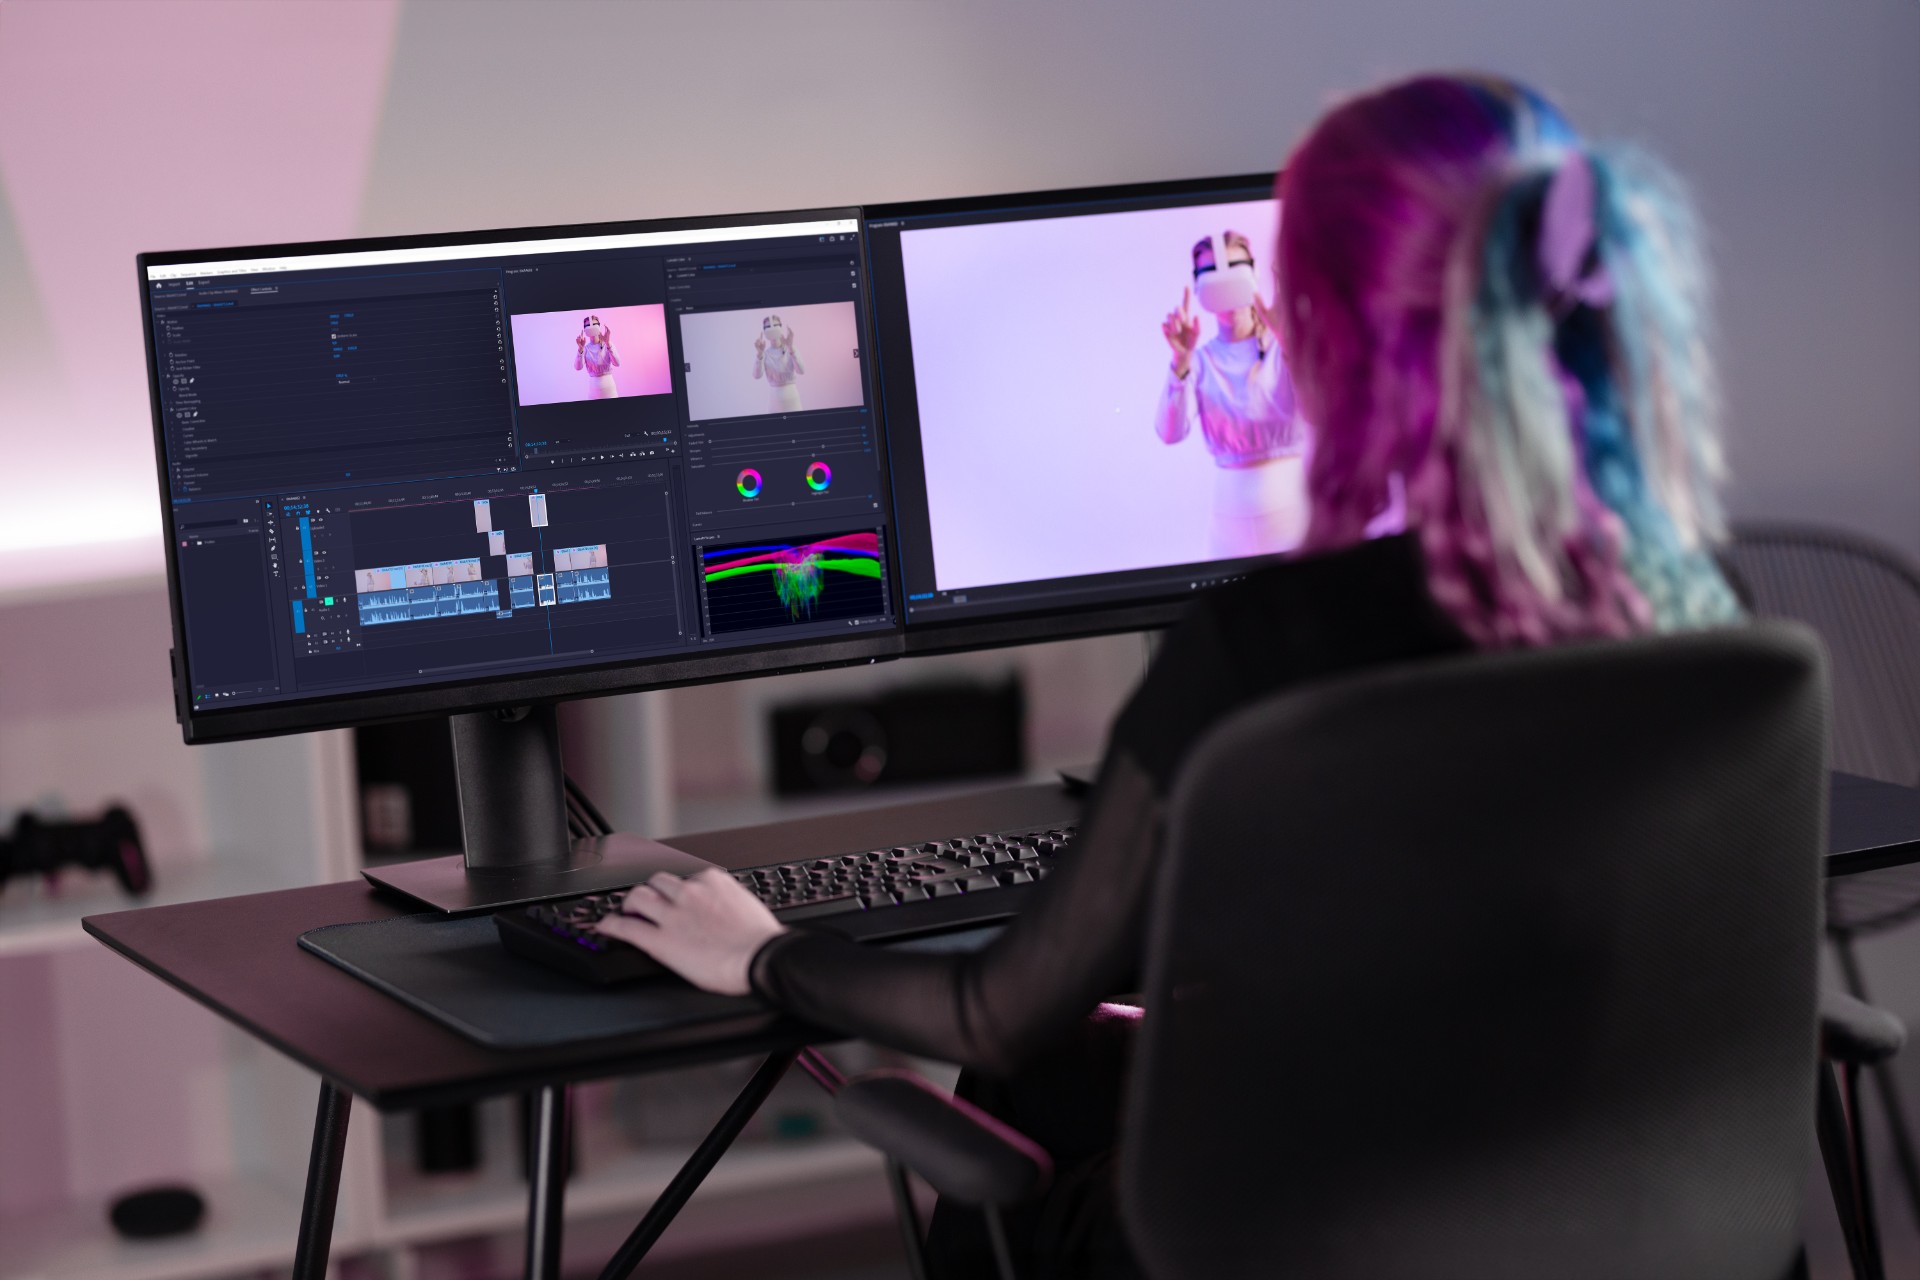
There is a specific frustration that video editors working with high-resolution footage on capable but not top-tier computer hardware know well. The timeline stutters during playback. Scrubbing through footage to find a specific moment produces frame skipping and delays. Applying effects causes the playback to crawl. And the overall experience of editing, which should be fluid and creative, becomes a battle against the limitations of the hardware rather than a focused engagement with the content.
This frustration is not a sign that the editor needs a more expensive computer before they can work with high-quality footage. It is a sign that they need to understand and implement proxy video, the production technique that allows editors working on hardware of any specification to edit high-resolution, high-bitrate footage with the same fluid, responsive experience that would otherwise require a significantly more powerful machine.
Proxy video is one of the most practical and most impactful workflow techniques available to podcast video creators, documentary editors, corporate video producers, and any content creator who works with 4K or high-bitrate footage and experiences performance problems during editing. Understanding how it works, how to create proxies correctly, and how to implement the proxy workflow in the major editing applications is the subject of this complete guide.
What Proxy Video Is and Why It Works
Proxy video is a simplified, lower-resolution, lower-bitrate version of your original high-resolution footage, created specifically for use during the editing process. The proxy files are significantly smaller than the original footage files and are therefore significantly less demanding on the computer's processing resources during playback and editing.
The key principle of proxy editing is that editing decisions, the cut points, transitions, effects, and overall structure of the edit, are made using the proxy files, but the original high-resolution files are used for the final export. The editing application maintains a link between each proxy file and its corresponding original file, and when export is initiated, it automatically substitutes the original high-resolution files for the proxy files to produce the finished output at the full quality of the original recordings.
This substitution at export means that the quality of the finished exported video is determined entirely by the original high-resolution footage, not by the proxy files used during editing. Working with proxies does not compromise the quality of the finished content in any way. It simply allows the editing process itself to be conducted with hardware-friendly files while preserving the full quality of the original files for the output.
Why High-Resolution Footage Is Demanding on Computer Hardware
The reason that high-resolution footage creates performance problems during editing is the volume of data that the computer must process to play it back in real time. A single frame of 4K video contains approximately eight million pixels, each of which must be read from storage, decoded from the recording codec, processed through any applied effects and color grading, and rendered to the display within the time budget of a single frame at the playback frame rate.
At twenty-five frames per second, the computer has forty milliseconds to complete all of this processing for each frame. Modern 4K recording codecs like H.264 and H.265 use complex compression algorithms that reduce file size significantly but require substantial processing power to decode in real time. When the decoding demand exceeds the processing capacity of the computer's CPU or GPU, the playback stutters, lags, or drops frames.
Proxy files address this problem by being encoded in simpler, less computationally demanding codecs and at lower resolutions that require a fraction of the processing power to decode. The editing workstation can play back, scrub, and apply effects to proxy footage with far less computational demand than the original 4K files require.
Choosing the Right Proxy Format and Resolution
The specific format and resolution of the proxy files created for an editing project are important decisions that affect both the editing experience during production and the accuracy of the proxy representation of the original footage.
Proxy Resolution: Balancing Performance and Usability
The resolution of the proxy files determines the sharpness and detail of the image during editing and the performance improvement achieved compared to the original footage. Lower resolution proxies are more computationally efficient and provide greater performance improvement, but they show less detail in the editing preview, which may make some editing decisions less accurate.
Common proxy resolutions for 4K original footage are half-resolution, which produces 1920x1080 proxies from 3840x2160 originals, and quarter-resolution, which produces 960x540 proxies from the same originals.
Half-resolution proxies provide the best balance of performance improvement and editorial usability for most editing situations. The 1920x1080 proxy image is detailed enough for accurate cut decisions, color assessment, and visual composition evaluation while being significantly less demanding to process than the original 4K footage. For most podcast video editors working on mid-range hardware, half-resolution proxies provide adequate performance improvement to make the editing experience fluid and responsive.
Quarter-resolution proxies provide greater performance improvement and are appropriate for editors working on lower-specification hardware where even half-resolution proxy playback is not sufficiently smooth. The reduced detail of quarter-resolution proxies means that very fine composition decisions, such as the exact position of a lower third graphic relative to a speaker's face, may require switching to the original footage temporarily for accurate assessment.
Proxy Codec: Choosing an Edit-Friendly Format
The codec used to encode the proxy files is equally important to their resolution in determining both the performance improvement and the quality of the editing preview. Recording codecs like H.264 and H.265 are highly efficient at file compression but computationally demanding to decode, which is why they create performance problems when used for editing in the first place.
Proxy codecs should be chosen for decode efficiency rather than for file size compression. The most commonly used proxy codecs are Apple ProRes in its various profiles on Mac, DNxHR and DNxHD on both Mac and Windows, and H.264 at lower bitrates than the original recordings.
Apple ProRes is the most commonly recommended proxy codec for Mac-based editing workflows. ProRes uses intraframe compression, which stores each frame as a complete independent image rather than predicting frame content based on adjacent frames as interframe codecs do. This intraframe approach makes ProRes significantly faster to decode than H.264 or H.265 at the same resolution, even though ProRes files are larger. For editing performance, ProRes Proxy or ProRes LT are the most appropriate ProRes profiles, offering the fastest decode speed at smaller file sizes than the higher-quality ProRes profiles.
DNxHR and DNxHD are the equivalent options for Windows-based editing workflows, providing similar intraframe efficiency to ProRes on Windows where ProRes encoding is not natively available without additional software.
For podcast creators and video content producers in Mumbai who want their 4K podcast recordings edited with a professional proxy workflow as part of a complete post-production service, Fox Talkx Studio provides the technical infrastructure and expertise to handle high-resolution footage efficiently and deliver professional-quality results. Explore comprehensive podcast editing services at https://www.foxtalkxstudio.com/services/podcast-editing-in-mumbai.
Creating Proxy Files: Your Options
Proxy files can be created through several different methods, each appropriate for different production contexts and technical requirements.
Creating Proxies Within the Editing Application
Most professional editing applications include built-in proxy creation tools that generate proxies from imported footage within the editing environment, maintaining the link between each proxy and its original automatically.
This built-in approach is the most convenient for most editors because it handles the proxy-to-original linking automatically without requiring any manual file management. The proxies are created, stored, and linked by the editing application, and the switch between proxy and original at export is handled automatically without any additional steps from the editor.
The limitation of in-application proxy creation is that the editing application must be running during the proxy creation process, and the proxy creation competes with other processing demands on the computer. For very large amounts of footage, proxy creation can take a significant amount of time during which the editing application is occupied with encoding rather than available for creative work.
Creating Proxies in Advance Using Dedicated Encoding Tools
An alternative approach creates all proxy files in advance before the editing session begins, using dedicated encoding applications that run independently of the editing application. DaVinci Resolve's free version is particularly useful for this purpose, as it can be used solely for proxy creation even by editors who use a different application for their main editing workflow.
Handbrake is a free, widely available video conversion tool that can encode proxy files in H.264 at reduced resolutions before the editing session begins. FFmpeg, the command-line video processing tool, provides the most flexible and most powerful batch encoding capability for proxy creation and can be used to create proxies in any format from any source footage through command-line scripts.
Creating proxies in advance allows the encoding to be completed overnight or during other non-editing periods, so that when the editing session begins, all proxy files are ready for immediate use without any waiting for in-session encoding.
Camera-Originated Proxies
Some professional cameras, particularly those used in higher-end video production contexts, generate proxy files simultaneously with the primary recording. These camera-originated proxies are created at the time of recording and stored alongside the primary footage files on the camera's storage media.
Camera-originated proxies are automatically matched to their corresponding primary files by the camera's naming convention, making the import and linking process in the editing application straightforward. For productions where camera-originated proxies are available, they eliminate the need for any post-recording proxy creation step entirely.
Setting Up and Using the Proxy Workflow in Adobe Premiere Pro
Adobe Premiere Pro provides one of the most streamlined proxy workflows of any professional editing application, with proxy creation, management, and the toggle between proxy and original footage all integrated into the main editing interface.
Creating Proxies in Premiere Pro
To create proxies in Premiere Pro, select the clips for which proxies should be created in the Project panel. Right-click on the selected clips and choose Proxy and then Create Proxies from the context menu.
In the Create Proxies dialog that opens, select the proxy format from the Format dropdown menu. For Mac-based workflows, Apple ProRes 422 Proxy is the recommended choice. For Windows-based workflows, GoPro CineForm or DNxHR LB are appropriate options. Set the Destination for the proxy files to a location on the computer's storage, ideally on a fast SSD drive for the best proxy playback performance.
Click OK to begin proxy creation. Premiere Pro uses the Adobe Media Encoder application to create the proxy files in the background, allowing editing to continue in Premiere Pro while the proxies are being generated. A progress indicator in the Media Encoder queue shows the encoding progress for each file.
When proxy creation is complete, the proxy files are automatically linked to their corresponding original clips in the Project panel. A small P badge appears on proxy-linked clips to indicate that proxies are available.
Toggling Between Proxy and Original in Premiere Pro
After proxies are created and linked, editing is conducted using the proxies by default when the Proxy toggle button in the Program Monitor toolbar is enabled. The Proxy toggle, which may need to be added to the toolbar through the toolbar customization options if not already present, switches between proxy and original playback with a single click.
When the Proxy toggle is enabled, the Program Monitor displays a small Proxy indicator to confirm that proxy playback is active. Editing during proxy playback is fully non-destructive and fully representative of the editorial decisions that will be applied to the original footage at export.
Exporting with Original Footage in Premiere Pro
When the edit is complete and ready for export, the editing application automatically uses the original high-resolution footage for the export regardless of whether the Proxy toggle is currently enabled in the interface. There is no additional step required to specify that the export should use original footage rather than proxies. Premiere Pro handles this substitution automatically when the export is initiated.
The exported file reflects the full quality of the original high-resolution recordings, with all the editing decisions made during proxy editing accurately applied to the original footage.
Setting Up and Using the Proxy Workflow in DaVinci Resolve
DaVinci Resolve provides proxy functionality through both its Optimized Media system and its dedicated Proxy mode, each offering different approaches to the performance optimization challenge.
Optimized Media in DaVinci Resolve
The Optimized Media system in DaVinci Resolve creates transcoded versions of imported footage in a format optimized for the editing workstation's hardware. To generate optimized media for a clip or a selection of clips, right-click on the clips in the Media Pool and select Generate Optimized Media. DaVinci Resolve encodes the optimized versions in the background and stores them in the project's cache location.
The format used for optimized media is configured in the Project Settings under the Master Settings tab. Selecting Apple ProRes on Mac or DNxHR on Windows with a resolution appropriate to the workstation's capability provides the best balance of performance improvement and visual quality for the editing preview.
Proxy Mode in DaVinci Resolve
DaVinci Resolve's Proxy mode, accessible through the Playback menu in the Edit page, provides an immediate performance improvement without requiring the creation of transcoded media files. Proxy mode reduces the playback resolution of the original footage in real time during editing, reducing the processing demand at the cost of reduced visual detail in the editing preview.
The three Proxy mode settings, Half Resolution, Quarter Resolution, and Eighth Resolution, provide different levels of performance improvement and visual reduction. Half Resolution is appropriate for most editing tasks on capable hardware. Quarter Resolution provides greater performance improvement for less capable hardware or more demanding footage. The Proxy mode is applied instantly without any encoding time, making it the fastest way to improve playback performance in DaVinci Resolve.
Using Remote Grades for Proxy Workflows
For color grading work specifically, DaVinci Resolve's Remote Grades feature allows color grades developed using optimized media to be applied to the original footage automatically when the optimized media is disabled or when the project is rendered. This ensures that color decisions made during the editing and grading phase with performance-optimized footage are accurately reflected in the final render using the original high-quality files.
Setting Up and Using the Proxy Workflow in Final Cut Pro
Final Cut Pro's approach to proxy workflows uses a Proxy Media system that creates and manages transcoded versions of imported footage within the application's media management framework.
Generating Proxy Media in Final Cut Pro
To create proxy media in Final Cut Pro, select the clips in the Event browser for which proxies should be generated, Control-click on the selected clips, and choose Transcode Media from the context menu. In the Transcode Media dialog, enable the Create proxy media checkbox and click OK.
Final Cut Pro generates proxy files in the background using its ProRes Proxy transcoding, storing them in the library's media folder alongside the original footage. A progress indicator in the Background Tasks window shows the encoding progress.
Switching Between Proxy and Original in Final Cut Pro
After proxy generation is complete, switching between proxy and original playback is done through the View menu in the Viewer, where the Media Preference option provides the choice between Optimized or Original media and Proxy media. Selecting Proxy activates proxy playback for all proxy-linked clips in the current library.
The proxy playback setting applies to the entire application rather than to individual clips or projects, making it simple to switch the full editing environment between proxy and original modes with a single setting change.
For podcast video creators and educational content producers in Mumbai who want their high-resolution podcast recordings handled with a professional proxy workflow as part of a complete post-production service, Fox Talkx Studio provides the technical infrastructure and expert editing team to deliver professional results from any source footage. Discover what professional podcast editing looks like for high-resolution content at https://www.foxtalkxstudio.com/services/podcast-editing-in-mumbai.
Troubleshooting Common Proxy Workflow Problems
Despite the generally straightforward nature of proxy workflows in modern editing applications, several common problems arise that editors benefit from knowing how to identify and resolve.
Proxy Files Not Linking to Original Footage
The most common proxy workflow problem is proxy files that are not correctly linked to their corresponding original footage files. This manifests as clips that do not display the proxy indicator despite proxy files being present, or clips that display the proxy files correctly during editing but fail to connect to the original files at export.
Proxy linking failures typically occur when the original footage files or the proxy files have been moved or renamed after the proxy-to-original links were established in the editing application. The editing application stores the links based on the file locations and names at the time of proxy creation, and any changes to those locations or names break the links.
Resolving linking failures requires either restoring the files to their original locations, renaming them back to their original names, or using the editing application's relinking tools to manually reconnect the broken links by navigating to the current location of each file.
Proxy Playback Quality Too Low for Accurate Editing Decisions
Some editors find that quarter-resolution proxies provide insufficient visual detail for accurate editorial decisions, particularly for compositions where precise positioning of subjects within the frame is important. The resolution of the proxies used during editing should always be the highest that the editing hardware can play smoothly.
If quarter-resolution proxies are required for smooth playback, switching to the original footage temporarily for specific editing decisions that require high-resolution visual assessment, such as positioning lower thirds relative to a speaker's face, provides the accuracy needed without requiring the entire edit to be conducted at full resolution.
Export Using Proxy Files Instead of Originals
In some cases, particularly when proxy links are broken or incorrectly configured, the editing application may export using the proxy files rather than the originals, producing a finished export at the lower quality of the proxy rather than the full quality of the original footage.
Always verify the resolution and visual quality of the first few seconds of any export before considering the export complete. A correctly executed proxy workflow export should produce output at the full resolution and quality of the original footage, not at the reduced quality of the proxy files.
Key Takeaways
Proxy video is the most practical solution to the video editing performance problem that arises when high-resolution footage exceeds the real-time decoding capability of the editing hardware. It allows editing to be conducted with efficient, hardware-friendly proxy files while preserving the full quality of the original footage for the final export.
Effective proxy workflow implementation requires choosing the right proxy resolution and codec for the specific hardware and footage combination, using the built-in proxy creation tools in the editing application or creating proxies in advance with dedicated encoding software, and verifying that the proxy-to-original file links are correctly maintained throughout the production.
All three major professional editing applications, Adobe Premiere Pro, DaVinci Resolve, and Final Cut Pro, provide robust built-in proxy workflow support that handles the creation, management, and export substitution of proxy files with minimal manual intervention.
For podcast video creators and content producers in Mumbai who want their high-resolution recordings edited with the efficiency, quality, and professional technical standards that a correctly implemented proxy workflow enables, Fox Talkx Studio provides the complete post-production expertise to deliver broadcast-quality results from any source footage. Visit https://www.foxtalkxstudio.com/services/podcast-editing-in-mumbai to explore what professional podcast and video editing looks like for your content.