
The Ultimate Video Editing Workflow for Content Creators
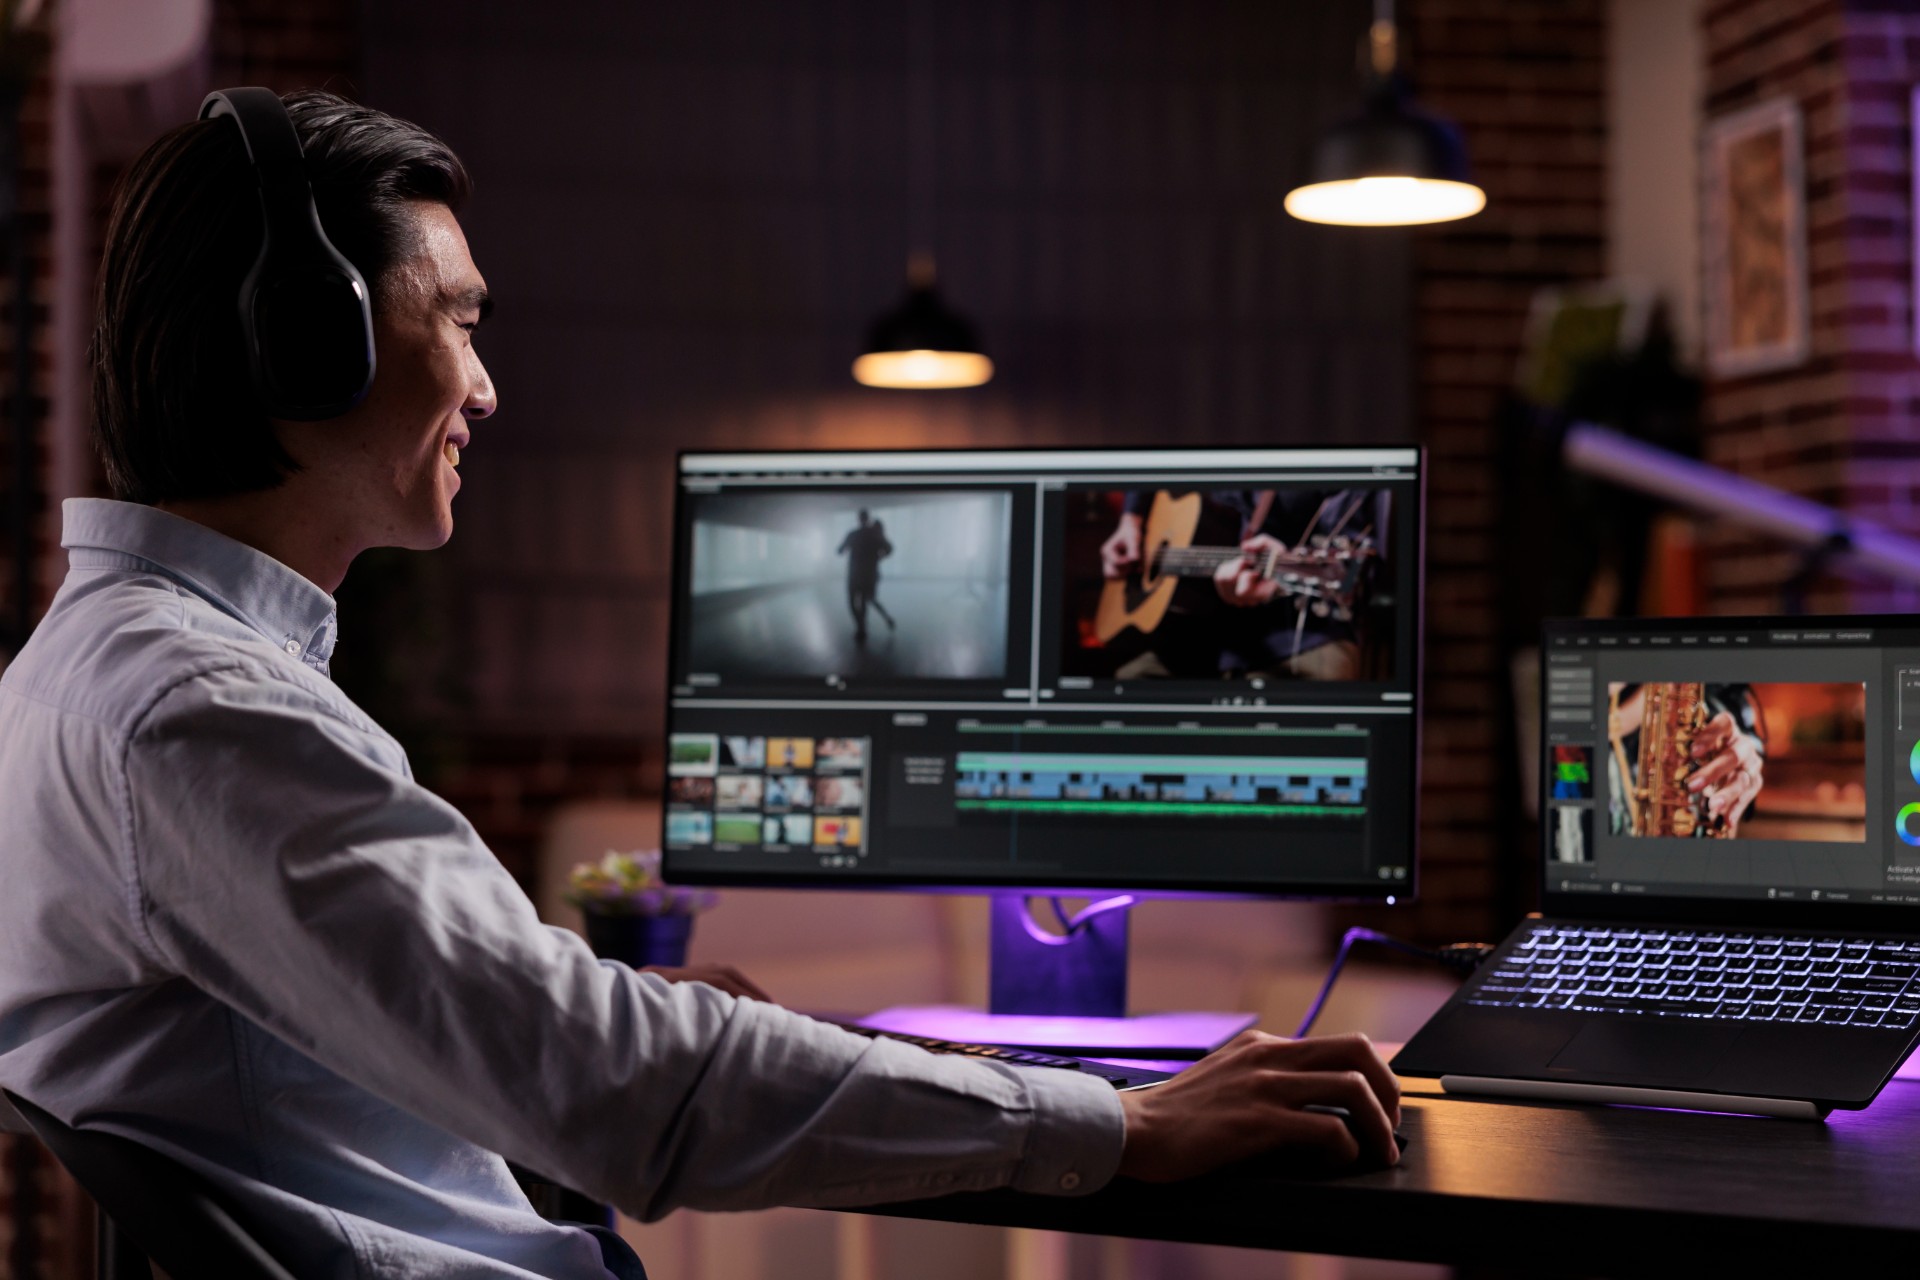
Every content creator who produces video at a consistent professional standard does so within a workflow. Not because workflows are bureaucratic or creatively limiting, but because the process of transforming raw footage into a finished, polished, distributable video is complex enough that working without a clear sequence of stages consistently produces problems: missed steps discovered at the wrong moment, quality issues that require returning to work already considered complete, and the accumulated inefficiency of making decisions in an ad hoc order rather than the sequence that serves the production most effectively.
The difference between content creators who produce high-quality video consistently and those who struggle with inconsistent results is often not a difference in talent, software, or equipment. It is a difference in workflow discipline. A creator with good workflow habits can produce professional-quality content more efficiently with modest tools than a creator with poor workflow habits can produce with expensive ones.
This guide presents the complete video editing workflow that professional content creators use to move from raw footage to finished, platform-ready video content. It covers every stage of the process, the specific tasks and decisions of each stage, why the stages must be executed in the order presented, and the most common mistakes at each stage that cost creators time and quality.
Why Workflow Matters More Than Software
Before examining the stages of the workflow, it is worth addressing a question that many beginning content creators ask: does the choice of editing software determine the quality of the final video? The answer is that software matters much less than workflow, and understanding why helps creators invest their learning time appropriately.
Every professional video editing application, from the free version of DaVinci Resolve to Adobe Premiere Pro to Final Cut Pro, is capable of producing broadcast-quality output when used correctly. The differences between these applications are primarily in their interface design, their specific toolsets, and their workflow optimizations rather than in the fundamental quality of the output they can produce.
The creator who has mastered a clear, disciplined workflow in a free editing application will consistently produce better results than the creator who has the most expensive software but works without a systematic approach. This is because workflow determines whether the right decisions are made in the right order with the right information available, which is the actual determinant of quality in video post-production.
With this principle established, the workflow that follows applies to any professional editing application. The specific steps for accessing each tool differ between applications but the sequence of stages, the decisions made at each stage, and the quality outcomes of executing those decisions correctly are consistent regardless of which software is used.
Stage One: Pre-Edit Organization and Preparation
The editing workflow does not begin when the editing application is opened. It begins with the organization and preparation of the raw materials that the edit will be built from, and the quality of this preparation phase determines the efficiency of every subsequent stage.
Ingesting and Backing Up Raw Footage
The first task after any recording session is the transfer of raw footage from the recording devices to the editing workstation and the creation of at least one backup copy before any other work begins. Raw footage is the irreplaceable foundation of the entire editing project, and its loss at any point in the production process means the loss of the project.
The backup should be stored on a separate physical drive from the working copy. A backup on the same drive as the working footage provides no protection against drive failure, which is the most common cause of catastrophic data loss in video production. A cloud backup provides additional protection for critical projects, though the upload time required for large video files may make cloud backup impractical as the sole backup solution.
After the backup is confirmed, the raw footage is ready for the next stage of preparation.
Creating a Logical Folder Structure
Before importing any footage into the editing application, organize all the raw materials for the project in a logical folder structure on the working drive. A clear folder structure allows any file to be located quickly at any point in the editing process and ensures that the editing application maintains correct links to all media even if files need to be moved.
A standard video project folder structure includes separate subfolders for raw video footage, raw audio recordings, music and sound design files, graphic assets and motion graphics templates, reference materials, project files from the editing application, and exported output files. Within the raw video folder, subfolders organized by camera, by date, or by scene provide additional organization for projects with large amounts of footage.
Reviewing Raw Footage Before Editing Begins
The most valuable investment of time in the preparation stage is a full review of the raw footage before the editing application is opened. Watching through all the raw material with the editing goal in mind allows the editor to develop a comprehensive understanding of what has been captured, to identify the strongest and weakest sections of the footage, to note any technical problems that will require attention, and to form a structural vision for the finished edit before any timeline decisions are made.
This pre-editing review is the step most commonly skipped by content creators working under time pressure, and it is the step whose absence costs the most time and quality downstream. Editors who skip the review and begin cutting from the beginning of the timeline make early structural decisions without a complete picture of the available material, frequently discover better options later in the footage that require rethinking decisions already made, and miss technical problems that are cheaper to identify before they have been built into the edit.
For podcast creators and content producers in Mumbai who want the preparation stage handled as part of a professional post-production service, Fox Talkx Studio provides comprehensive podcast video editing with thorough footage review built into every project workflow. Explore professional editing services at https://www.foxtalkxstudio.com/services/podcast-editing-in-mumbai.
Stage Two: Project Setup in the Editing Application
With all raw materials organized and reviewed, the editing application is opened and the project is configured correctly before any editing work begins.
Setting the Correct Project Parameters
Create a new project in the editing application with settings that match the technical specifications of the primary footage: the resolution, frame rate, color space, and audio sample rate that the primary camera was configured to record. Correct project settings ensure that footage plays natively in the sequence without format conversion, that the export settings produce output that accurately represents the edit, and that no compatibility issues arise from mismatched project and footage specifications.
In Adobe Premiere Pro, create a new sequence from the primary footage clip to automatically inherit the correct settings. In DaVinci Resolve, configure the Timeline Frame Rate and Resolution in the Project Settings before creating the timeline. In Final Cut Pro, the project settings are configured when the project is created.
Importing and Organizing Media in the Project
Import all the raw materials into the editing application's media management system, organizing the imported files into logical bins or folders within the application that mirror the folder structure established on the drive. Good organization within the editing application prevents the time waste of searching for specific clips or assets during the editing process.
Apply keywords, labels, or ratings to the imported footage to mark the clips and sections identified during the pre-editing review as strong or weak, as requiring technical attention, or as candidates for specific positions in the edit. These markers make the information developed during the review immediately accessible during the editing process without requiring the editor to rely on memory.
Stage Three: The Rough Cut
The rough cut is the first creative stage of the editing process and the one that establishes the structural foundation that all subsequent stages will refine.
Building the Assembly Edit
The assembly edit is the first pass at assembling the complete content of the finished video from the raw footage. At this stage, the editor is making macro-level decisions about which sections of the footage belong in the edit and in what order, without attending to the fine detail of specific edit points, audio levels, or visual quality.
The goal of the assembly edit is to create a complete, unpolished version of the video that contains all the content the finished edit will include, in approximately the right order, at approximately the right length. This assembly provides a foundation for assessing whether the structural vision formed during the pre-editing review works in practice and for identifying any structural problems before they are reinforced by detailed editing work.
Assessing and Refining the Structure
After completing the assembly, step back from the timeline and review the assembled cut as a viewer rather than as an editor. Watch from beginning to end without making adjustments during the viewing, noting any structural problems, pacing issues, or content selection decisions that need reconsideration.
This structural assessment is the most important editorial judgment in the rough cut stage. The questions to ask are: does the video have a clear beginning, middle, and end? Does the pacing feel appropriate for the content and the intended audience? Is there any content that should be removed or repositioned to improve the structure? Is there anything missing that the structure requires?
Address the structural issues identified in the assessment before moving to the fine cut stage. Investing time in getting the structure right at the rough cut stage prevents the waste of detailed editing work applied to content that will later be restructured or removed.
Stage Four: The Fine Cut
With the structure established and confirmed, the fine cut stage refines every element of the edit from the rough cut's approximate placement to the precise, frame-accurate timing that the finished video requires.
Refining Edit Points to Optimal Timing
Work through every cut in the rough cut sequence and refine the in and out points of each clip to their optimal positions. This means trimming the beginning of each clip to remove the verbal hesitations, incomplete sentences, and transition sounds that appear at the edit entry points in the rough assembly. It means trimming the end of each clip to remove the sounds and movements that occur after the substantive content has concluded.
For podcast and interview content, the fine cut also involves the removal of verbal fillers, extended pauses, and repetitions that were left in the rough cut but do not serve the finished episode. The line between preserving the natural rhythm of conversation and removing the verbal clutter that slows the pacing is one of the most important editorial judgments in the fine cut stage, and it requires the editor to listen to each section from the viewer's perspective rather than from the perspective of someone familiar with the full content.
Implementing J-Cuts and L-Cuts for Conversational Flow
For podcast and interview content, the fine cut is where the audio-visual offset transitions that create natural conversational flow are implemented. J-cuts, where the incoming speaker's audio begins before the visual cut to that speaker, and L-cuts, where the outgoing speaker's visual is held past the point where the incoming speaker's audio begins, are the specific techniques that produce the fluid, natural quality that professional podcast video editing is distinguished by.
Implementing these transitions requires deliberate attention to the specific frame where the audio cut and the video cut should occur for each speaker transition in the sequence. This frame-level attention to the timing of audio-visual transitions is one of the most time-consuming elements of the fine cut stage and one that produces the most visible improvement in the quality of the finished edit.
Adding B-Roll, Graphics, and Visual Elements
The fine cut is also where supplementary visual elements are integrated into the primary footage sequence. B-roll clips that provide visual context for the spoken content, graphic elements including lower thirds, title cards, and chapter markers, and any motion graphics or visual inserts that support the content are all added to the timeline at this stage.
The placement of each of these elements should be governed by a specific editorial purpose rather than by a desire for visual variety. B-roll that illustrates what is being spoken adds informational value. A lower third that identifies a speaker adds navigational value. A chapter title card that marks the beginning of a new section adds structural value. Each element should earn its place in the edit by serving one of these specific purposes.
For podcast video creators in Mumbai who want B-roll integration, graphics application, and all fine cut editing handled at a professional standard, Fox Talkx Studio delivers comprehensive podcast video editing services that cover every dimension of the fine cut process. Discover what professional podcast editing looks like at https://www.foxtalkxstudio.com/services/podcast-editing-in-mumbai.
Stage Five: Audio Post-Production
With the visual structure of the edit complete and confirmed, audio post-production processes the audio tracks of the episode to deliver the clean, balanced, and professionally mastered sound that the finished video requires.
Applying Noise Reduction and Audio Cleanup
The first pass of audio post-production addresses technical problems in the raw audio recordings: background noise, hum, audio artifacts, and any interference that was captured alongside the spoken content. AI-powered noise reduction tools can identify and reduce specific noise profiles with minimal impact on the voice signal, and their application as the first step in the audio processing chain ensures that subsequent processing is applied to cleaned audio rather than audio still contaminated by background noise.
Equalization and Compression for Voice Quality
After noise reduction, equalization shapes the frequency balance of each speaker's voice track to produce a warm, clear, and natural sound that translates well across different playback devices. A gentle roll-off of very low frequencies reduces room rumble and handling noise. A slight boost in the speech intelligibility range improves clarity. A gentle reduction of any harsh upper midrange frequencies that create listener fatigue produces a more comfortable listening experience.
Compression applied after equalization manages the dynamic range of each speaker's audio, reducing the volume difference between the louder and quieter moments in the recording to produce a more consistent, controlled sound that maintains its presence through different playback environments.
Level Balancing and Mastering
After processing each individual track, the final step of audio post-production is level balancing: adjusting the relative levels of all audio tracks in the sequence so that all speakers are heard at a consistent loudness and any music or sound design elements are at appropriate levels relative to the spoken content.
The master level of the mixed audio is then processed to meet the loudness specifications of the distribution platforms where the video will be published. Most major platforms including YouTube specify a target integrated loudness level, and the mastering process ensures that the finished audio meets this specification without distortion or dynamic compression that compromises the natural quality of the mix.
Stage Six: Color Correction and Grading
With the audio post-production complete, color correction and grading addresses the visual quality of the footage, normalizing any technical inconsistencies in the raw recordings and establishing the consistent visual identity of the show.
Primary Color Correction
Primary color correction adjusts the exposure, white balance, and color balance of each clip in the sequence to produce an image that is technically accurate: correctly exposed, with natural skin tones and a white balance that reflects the actual lighting conditions of the recording environment.
For multi-camera podcast recordings, primary correction must also address the matching of different cameras to each other, ensuring that cuts between cameras do not create jarring visual inconsistencies in the color, brightness, or contrast of the image.
Secondary Grading and Show Identity
After primary correction establishes a technically accurate baseline, secondary grading applies the specific visual look of the show: the color treatment that makes each episode recognizable as part of the same series and that reflects the show's overall aesthetic identity.
The secondary grade for podcast video content is typically subtle rather than dramatic, enhancing the natural warmth and clarity of the image rather than imposing a heavily stylized filter that draws attention to itself. Consistency of the grade across all episodes of a series is more important than the specific character of the grade, as it is the consistency that creates the recognizable visual brand identity.
Stage Seven: Quality Control Review
Before any export is attempted, a complete quality control review of the finished cut is the final editorial stage and one of the most important investments of time in the entire workflow.
The Viewer's Perspective Review
Watch the complete edit from beginning to end in real time, approaching it with the perspective of a viewer encountering it for the first time. During this review, do not stop to make adjustments as problems are noticed. Instead, make notes of specific issues by timecode so that all adjustments can be made in a single pass after the review is complete.
The viewer's perspective review reveals problems that the editorial mindset misses: pacing issues that felt acceptable during detailed editing become obvious when the edit is experienced as a whole. Audio inconsistencies that were normalized through repeated hearing during editing become jarring when heard in context. Visual discontinuities that were not noticed during the cutting process become immediately apparent when the edit is watched continuously.
Technical Quality Control Checks
After the editorial review, conduct a separate technical quality control check that focuses specifically on the technical dimensions of the edit rather than on its content and pacing. Check that audio levels are consistent throughout the episode and that no sections exceed the platform loudness specifications. Check that the color grade is visually consistent across all clips and that no clips have been missed in the color grading process. Check that all graphic elements are correctly positioned, correctly spelled, and correctly animated. Check that the timeline begins and ends at the correct points with no unintended black frames at either end.
Each problem identified in either review should be corrected before export. Discovering and fixing problems before export is significantly more efficient than exporting and then returning to the edit to make corrections.
For content creators in Mumbai who want quality control handled at a professional broadcast standard as part of their post-production service, Fox Talkx Studio builds thorough QC review into every episode delivery. Visit https://www.foxtalkxstudio.com/services/podcast-editing-in-mumbai to explore what professional quality control looks like.
Stage Eight: Export and Platform-Specific Delivery
The final stage of the video editing workflow is export: producing the finished video files in the specific formats, resolutions, and technical specifications required for each distribution platform.
Creating Export Presets for Each Platform
Professional content creators who distribute across multiple platforms, including YouTube, Instagram, LinkedIn, and podcast platforms, maintain export presets in their editing application that are pre-configured with the correct technical specifications for each platform. Using these presets for every export ensures that each platform receives a correctly configured file without requiring manual specification entry for each export.
Export presets should include the correct file format and codec, the correct resolution and frame rate, the correct audio format and sample rate, and the correct bitrate settings for the intended distribution context. For most digital distribution, H.264 at 1080p is the standard baseline, with H.265 or AV1 for 4K delivery where platform support is confirmed.
Creating Platform-Specific Cuts
For content that will be distributed across platforms with different format requirements, including vertical format clips for Reels and Shorts derived from horizontal format full episodes, the export stage includes the creation of platform-specific cuts in separate sequences configured for each target format.
These platform-specific sequences use the same underlying edited content from the main sequence but apply the crop, reframe, and any format-specific graphic modifications required for each platform's display format. Creating these sequences as part of the final export stage allows all platform deliverables to be produced in a single organized workflow rather than as separate post-export processes.
Key Takeaways
The ultimate video editing workflow is a disciplined sequence of eight stages, each building on the previous one and establishing the foundation for the next. Pre-edit organization prevents file management problems from disrupting the creative process. Correct project setup prevents technical compatibility issues from compromising the output quality. The rough cut establishes the structural foundation before detailed editing work is invested. The fine cut refines every element of the structure to professional precision. Audio post-production delivers the broadcast-quality sound that listeners expect. Color correction and grading establish the visual identity of the show. Quality control catches problems before they reach the audience. And platform-specific export delivers correctly formatted files to every distribution destination.
Every stage of this workflow is necessary. Skipping any stage or executing stages in the wrong order consistently produces quality problems and efficiency losses that compound through the rest of the production process.
For podcast video creators and content producers in Mumbai who want this complete professional workflow applied to their content as part of a comprehensive post-production service, Fox Talkx Studio delivers every stage of the video editing workflow at broadcast quality standards, from initial footage review through final platform export.
Visit https://www.foxtalkxstudio.com/services/podcast-editing-in-mumbai to discover what a professionally managed editing workflow can do for the quality and consistency of your video content.