Video Editing Workflow: A Complete Step-by-Step Guide for Content Creators
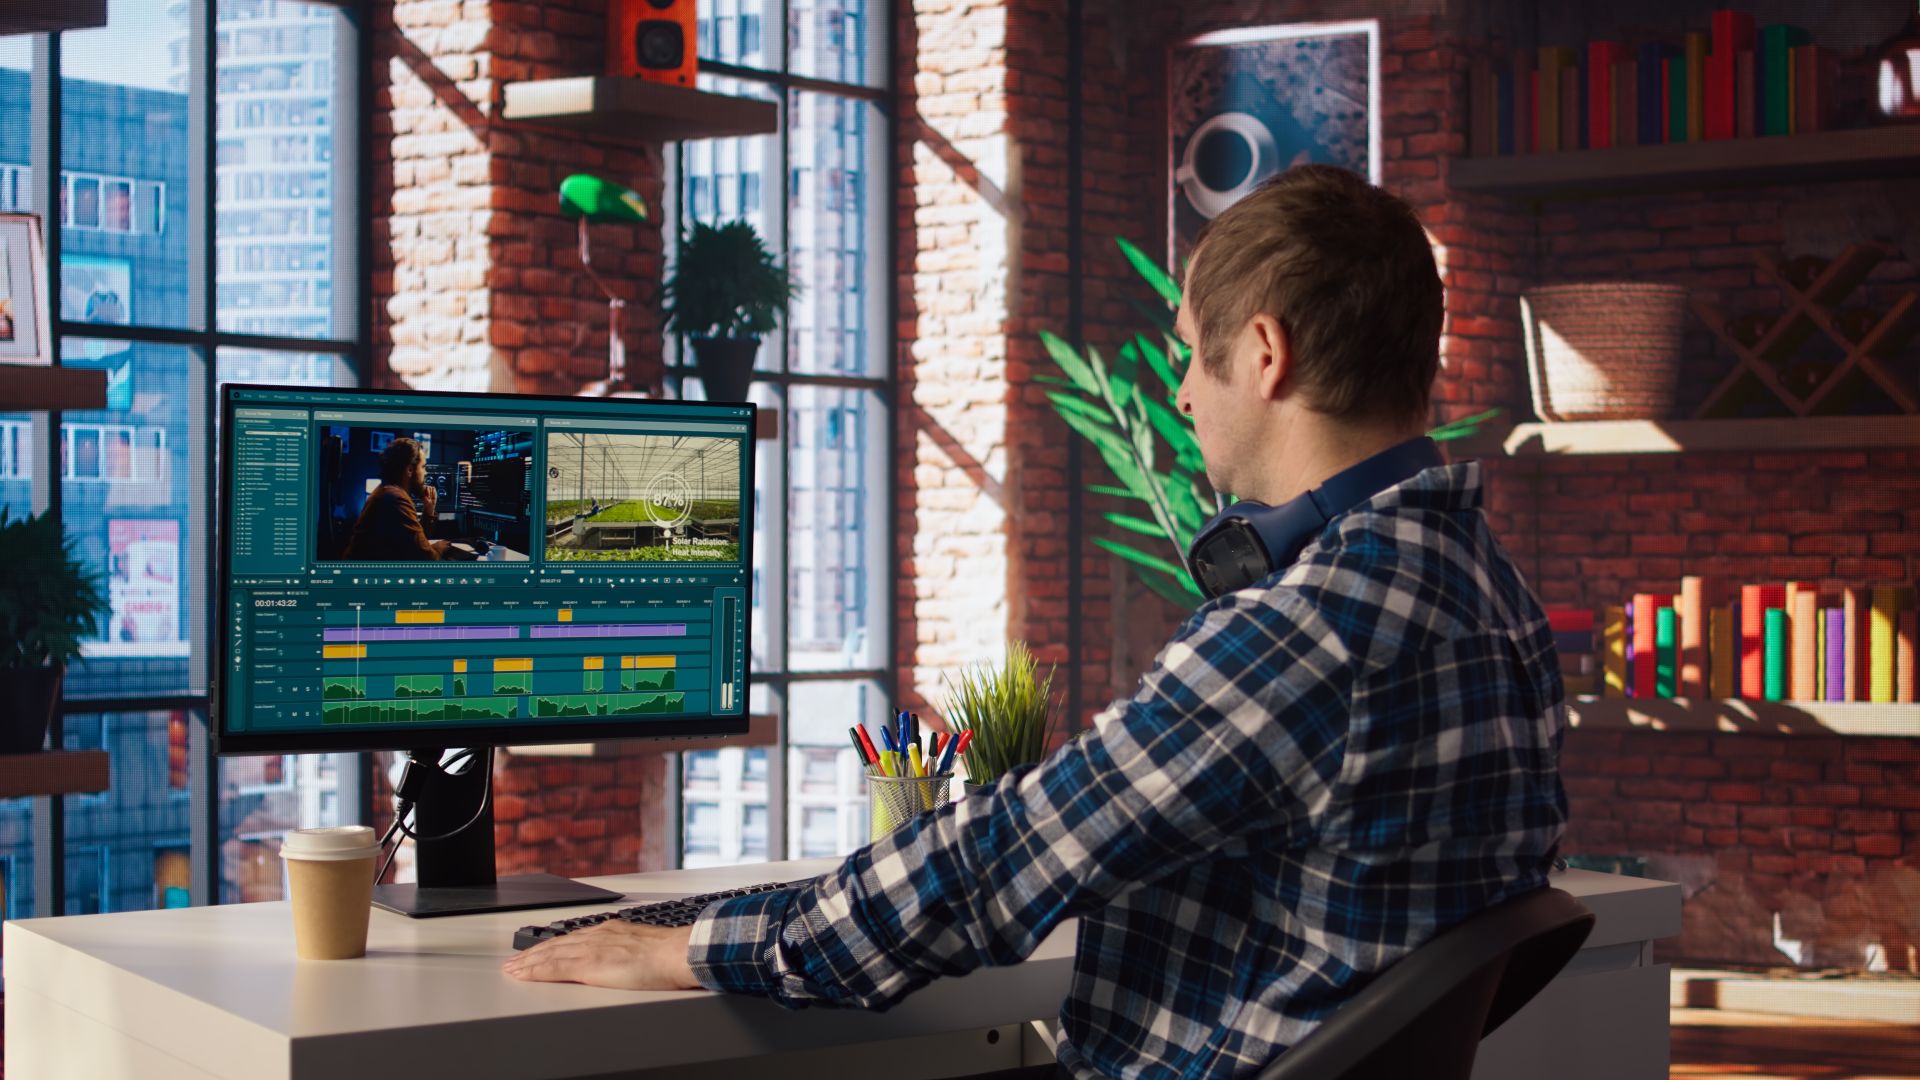
The quality of a finished video is determined not only by the talent of the editor or the power of the editing software, but by the discipline of the workflow that connects raw footage to finished output. A workflow is the sequence of stages through which every project passes, the specific tasks performed at each stage, and the order in which those stages occur. When the workflow is well-designed and consistently followed, the editing process is efficient, the quality is predictable, and the finished output meets professional standards reliably across every project.
When the workflow is absent or poorly defined, even talented editors with excellent software produce inconsistent results. Files get lost. Decisions made early create problems that only emerge late. Time is spent fixing problems that a correct workflow would have prevented. And the creative work of editing, the genuine editorial judgments that determine whether a video is compelling or forgettable, gets crowded out by the operational overhead of managing a chaotic production process.
This guide presents the complete video editing workflow for podcast video and content creators, covering every stage from the moment raw footage arrives to the moment the finished video is distributed. Each stage is described in terms of what it involves, why it matters, and what the most common mistakes at that stage look like and how to avoid them.
Why a Consistent Video Editing Workflow Matters
Before examining the specific stages of the workflow, understanding why workflow consistency matters so much to the quality and efficiency of video editing sets the context for the disciplined approach that follows.
Workflow Prevents the Most Common Editing Mistakes
The most expensive editing mistakes are not the ones that involve incorrect creative decisions. They are the mistakes that involve incorrect process: applying detailed fine-cut editing work to structural problems that will require the edit to be restructured later, spending hours on audio processing before the content selection has been finalized, discovering on export that the project settings were misconfigured in a way that affects the quality of the output.
Every one of these mistakes is prevented by a workflow that establishes the correct order of operations and prevents later-stage work from being done before earlier-stage decisions are confirmed. The workflow is the procedural framework that prevents process mistakes from consuming the time and energy that should be available for creative decisions.
Workflow Enables Consistent Quality Across Projects
A consistent workflow enables consistent quality because it ensures that the same standards are applied at every stage of every project. An editor who follows a consistent quality control review as the final stage of every project catches the same categories of problems in every project. An editor who applies noise reduction as the first step of audio processing in every project ensures that all subsequent audio processing is applied to cleaned audio in every project.
This consistency is what allows professional post-production operations to deliver reliable quality across high volumes of output. It is also what allows individual editors to develop and improve their craft systematically, because a consistent process provides a stable foundation against which improvements can be identified and measured.
Stage One: Pre-Edit Preparation and Organization
The video editing workflow begins before the editing application is opened. The preparation and organization stage ensures that all raw materials are correctly stored, backed up, and organized before any creative work begins.
Ingesting and Backing Up Raw Footage
The first action after any recording session is the transfer of all raw footage, audio recordings, and any other recorded materials to the editing workstation's primary storage drive. This transfer should be verified by checking that all files have transferred correctly and that the transferred files are playable before any original recordings are removed from the recording devices.
Immediately after transfer verification, create a backup copy of all raw materials on a separate physical drive. A backup on the same drive as the working files provides no protection against drive failure. Two backups on separate drives in separate physical locations provide comprehensive protection against the most common causes of data loss.
This backup step is non-negotiable regardless of the perceived safety of the primary storage. Drive failure is unpredictable. A raw footage file that cannot be recreated, because the recording session is over and cannot be repeated, is the most valuable asset in any video production and deserves the most diligent protection.
Creating the Project Folder Structure
Before any files are imported into the editing application, organize all raw materials in a consistent folder structure on the working drive. A standard folder structure for a podcast video project includes separate folders for raw video footage organized by camera, raw audio recordings, music and licensed audio assets, graphic assets and motion graphics templates, project files from the editing application, and export outputs.
Consistent naming conventions for files and folders, applied identically across all projects, allow any file to be located immediately in any project regardless of how long ago it was created. A file named Guest Interview Camera A 20250115 is immediately locatable in a search. A file named MOV001 is not.
Reviewing All Raw Footage Before Opening the Editing Application
After organizing the files, review all raw footage before opening the editing application. This pre-edit review watches through every recorded file, taking notes on the strongest and weakest sections, identifying technical problems that require attention, and developing a structural vision for the finished edit before any timeline decisions are made.
The pre-edit review is the most commonly skipped stage in amateur video editing workflows and the one whose absence costs the most time downstream. Editors who skip the review begin cutting from the beginning of the timeline without a complete picture of the available material, frequently discover better options later in the footage that require revising already-made decisions, and miss technical problems that should be addressed before they are built into the edit.
For podcast video creators in Mumbai who want professional pre-edit review and organization handled as part of a complete post-production service, Fox Talkx Studio provides comprehensive podcast video editing where thorough preparation underpins every stage of the production. Explore their professional editing services at https://www.foxtalkxstudio.com/services/podcast-editing-in-mumbai.
Stage Two: Project Setup in the Editing Application
With all materials organized and reviewed, the editing application is opened and the project is configured correctly before any editing work begins.
Configuring Project Settings to Match Source Footage
Create a new project in the editing application with technical settings that exactly match the primary source footage: the resolution, frame rate, color space, and audio sample rate that the primary camera was recording at.
Mismatched project settings create subtle but consequential quality problems. A project configured at twenty-five frames per second that contains footage recorded at thirty frames per second will either drop frames during playback or apply frame rate conversion that subtly affects the motion quality of the footage. A project configured at the wrong resolution scales footage in ways that reduce the sharpness of the output. These problems are invisible during the editing process but visible in the finished export, and they are prevented entirely by correct project configuration at the outset.
In Adobe Premiere Pro, the recommended approach is to create a new sequence by right-clicking on the primary footage clip in the Project panel and selecting New Sequence From Clip, which automatically inherits all technical settings from the source clip. In DaVinci Resolve, the Timeline Frame Rate and Timeline Resolution settings in the Project Settings are configured before creating the first timeline. In Final Cut Pro, the project settings are configured when the project is created.
Importing and Organizing Media in the Project
Import all project media into the editing application and organize it in bins or folders within the application's media management system, mirroring the folder structure established on the drive. Apply the notes from the pre-edit review by labeling or rating clips to identify the strongest material, flagging clips with technical problems, and marking specific sections of interest.
This organization within the editing application extends the work done in the pre-edit review into the editing environment, making the information developed during review immediately accessible at the editing stage without requiring the editor to rely on memory or re-watch footage to recall what was noted.
Stage Three: Multi-Camera Synchronization
For podcast video productions recorded with multiple cameras simultaneously, synchronizing all camera footage before beginning any editorial work is an essential technical stage that all subsequent editing depends on.
Establishing Sync Points and Verifying Synchronization
Most professional editing applications provide automated synchronization tools that align multiple camera angles based on a shared audio reference, typically a hand clap, a sync tone, or the audio from a dedicated reference microphone that is audible on all camera recordings.
After automated synchronization, manually verify the sync accuracy by examining the alignment of lip movements and speech at multiple points throughout the recording, not only at the beginning where the sync reference was captured. Long recordings may experience sync drift due to slight differences in the audio clock rates of different recording devices, causing synchronization that is accurate at the beginning to drift out by several frames by the end of a long recording session.
Addressing sync drift requires identifying where the drift begins, splitting the synchronized clips at that point, and applying a corrected synchronization offset to the section after the split. Discovering and correcting sync drift after hours of detailed editing work is significantly more disruptive than identifying and correcting it at the synchronization stage before any editing begins.
Stage Four: The Rough Cut
The rough cut is the first editorial stage of the workflow, building the overall structure of the finished edit from the raw footage.
Building the Assembly Edit
The assembly edit is the first pass through the raw footage, placing all sections that will be included in the finished edit on the timeline in approximately the right order without attending to the precision of individual edit points or the quality of transitions between clips.
The assembly edit is a content selection and sequencing exercise rather than a fine editing exercise. The questions being asked at this stage are about inclusion and order: what belongs in the finished edit, and in what sequence? These macro-level questions are entirely separate from the micro-level questions about exact edit points, audio levels, and visual quality that occupy later stages.
Mixing macro and micro decisions, attempting to fine-cut individual clips while simultaneously assessing the structural sequence, is one of the most common efficiency problems in video editing workflows. It creates a situation where detailed work is invested in sections before the structural decision about whether those sections belong in the edit has been confirmed, which means that structural revisions require dismantling and redoing detailed work that would not have been necessary if the structure had been confirmed first.
Structural Assessment and Revision
After completing the assembly, review the assembled cut at full speed as a viewer rather than as an editor, assessing whether the structural sequence works, whether the pacing of the overall edit is appropriate, and whether any content should be removed, added, or repositioned for structural reasons.
Make structural revisions based on this assessment before proceeding to the fine cut stage. Revisions at the rough cut stage are fast and low-cost because no detailed work has been invested in the current structure. Revisions at the fine cut stage are slow and high-cost because they require undoing and redoing detailed work.
Stage Five: Multi-Camera Editing and Coverage Management
For multi-camera podcast recordings, the rough cut stage is also where coverage decisions are made: determining which camera angle will be used for which sections of the edit based on the editorial value of each angle at each moment.
Selecting Camera Angles Based on Editorial Value
The selection of camera angles in a multi-camera podcast edit should be driven by the editorial value of each angle at each specific moment rather than by a predetermined rotation pattern. The camera that shows the most editorially significant visual information at each moment is the correct camera for that moment.
During a speaker's delivery of a key insight, the camera closest to that speaker, providing the most detailed view of their facial expression and physical emphasis, is typically the most editorially valuable. During a brief transition between speakers, a wide shot that shows both participants may provide useful spatial context. During a speaker's reaction to something unexpected, the camera showing that speaker's face is the most editorially valuable regardless of who is speaking at that moment.
These editorial value judgments cannot be made by applying a fixed pattern. They require the editor to assess the visual content of each camera angle at each moment in the context of the conversation's emotional and informational arc.
For podcast video creators in Mumbai who want their multi-camera footage edited with genuine editorial judgment across every camera angle selection, Fox Talkx Studio provides expert multi-camera podcast editing where every visual decision is made with the viewer's experience as the primary consideration. Discover what professional multi-camera podcast editing looks like at https://www.foxtalkxstudio.com/services/podcast-editing-in-mumbai.
Stage Six: The Fine Cut
With the structure confirmed and the camera coverage determined, the fine cut stage refines every element of the rough cut from approximate placement to precise, frame-accurate editorial decisions.
Refining Edit Points to Optimal Timing
Work through every edit point in the rough cut sequence and refine the in and out points of each clip to their optimal positions. For podcast video content, this involves trimming the beginning of each clip to remove the verbal hesitations, incomplete sentences, and pre-speech sounds that appear at edit entry points in the rough assembly. It involves trimming the end of each clip to remove the sounds and movements that occur after the substantive content of the clip has concluded.
It also involves the identification and removal of verbal fillers, extended pauses, and repetitive content within clips that was left in the rough cut but that slows the pacing below the level that serves the listener's engagement.
Implementing J Cuts and L Cuts
At every speaker transition in the fine cut, implement J cuts and L cuts that create the audio-visual offset necessary for natural conversational flow. As discussed in depth elsewhere in this series, J cuts bring the incoming speaker's audio in before the video cut, and L cuts hold the video on the outgoing speaker past the audio cut. The duration of each split edit should be calibrated to the specific character of each individual transition rather than set to a fixed value applied uniformly.
Integrating B-Roll and Graphic Elements
After the fine cut is complete, add B-roll footage, lower thirds, chapter title cards, and other graphic elements to the timeline in their correct positions. B-roll placements should be governed by the editorial purpose of each insert: illustrating a specific reference, providing visual relief from extended talking head sections, or covering a necessary edit point.
Lower third timing should be set to appear during natural pauses in the dialogue, hold for the duration required for comfortable reading, and animate out before the graphic's presence becomes a persistent distraction.
Stage Seven: Audio Post-Production
With the video editorial structure confirmed and finalized, audio post-production processes all audio tracks to deliver the clean, balanced, and professionally mastered audio that the finished video requires.
Applying Audio Processing in the Correct Sequence
Audio post-production follows a specific sequence of processing operations that must be applied in the correct order for each to perform its function optimally.
Noise reduction is applied first, before any other processing, to address background noise in the raw recordings. Applying noise reduction first ensures that all subsequent processing is applied to a cleaned signal rather than to a signal that still contains the noise that will be reduced later.
Equalization is applied after noise reduction to shape the frequency balance of each voice track. A high-pass filter removing content below approximately eighty hertz is the standard first equalization move for voice tracks, removing low-frequency rumble and electrical hum before the voice-specific equalization is applied.
Compression follows equalization to manage the dynamic range of each voice track, reducing the difference between the loudest and quietest moments to produce a more consistent, controlled level.
Limiting and loudness normalization are applied last, as the final step of audio post-production, to ensure that the completed mix meets the loudness specifications of the target distribution platforms.
Stage Eight: Color Correction and Grading
With audio post-production complete, color correction and grading addresses the visual quality of all footage.
Primary Color Correction for Technical Accuracy
Primary color correction adjusts the exposure, white balance, and color balance of each clip to produce a technically accurate image. For multi-camera recordings, primary correction must match the visual characteristics of all cameras to each other, ensuring visual consistency across camera angle cuts.
Secondary Color Grading for Visual Identity
Secondary grading applies the specific visual look that defines the show's aesthetic identity across all episodes. This grade is the visual equivalent of the audio signature created by music selection and audio processing: a consistent, recognizable quality that makes each episode immediately identifiable as belonging to the show.
The grade applied to podcast video content is typically subtle and enhancing rather than dramatic and transformative, improving the natural warmth and clarity of the footage rather than imposing a heavily stylized filter that draws attention to itself.
Stage Nine: Quality Control Review
Before any export, a complete quality control review assesses the finished edit across every dimension of quality to identify and address problems before they reach the audience.
The Viewer's Perspective Watch-Through
Watch the complete edit from beginning to end in real time as a viewer encountering the content fresh, without stopping to make adjustments. Note problems by timecode during the viewing and address all identified issues in a single revision pass after the full review is complete.
This viewer's perspective review is distinct from the editorial review conducted throughout the editing process. The editorial mindset during editing is focused on specific decisions. The viewer's perspective during quality control is focused on the cumulative experience of the full edit, which reveals pacing issues, level inconsistencies, and flow problems that individual editorial decisions cannot assess.
Technical Quality Control Checks
After the editorial quality control review, conduct a separate pass through the edit specifically focused on technical quality: audio level consistency, color grade consistency across all clips, graphic element accuracy and animation, timeline start and end points, and the correct configuration of all export settings.
Each problem identified in either review should be addressed before the export is initiated. The time investment in thorough quality control before export is consistently less than the time investment in re-exporting after problems are discovered in the delivered file.
Stage Ten: Export and Platform-Specific Delivery
The final stage of the workflow produces the finished video files in the specific formats required for each distribution platform.
Creating Export Presets for Consistent Output
Maintain saved export presets in the editing application for each distribution platform where content is regularly published. Presets ensure correct technical specifications for every export without manual configuration and prevent the common mistake of exporting in the wrong format for a specific platform.
Creating Platform-Specific Format Crops
For content distributed across platforms with different format requirements, create separate sequences or timelines for each target format, with the appropriate aspect ratio, resolution, and crop configuration for each platform. Export each platform's version from its dedicated sequence to ensure that every platform receives content correctly formatted for its specific display context.
Key Takeaways
The complete video editing workflow moves through ten sequential stages, each building on the previous and establishing the foundation for the next. The workflow's value lies not in any individual stage but in the discipline of executing every stage in the correct order, with the correct standard of care, and without allowing later-stage work to be done before earlier-stage decisions have been confirmed and finalized.
Pre-edit preparation prevents file management problems. Correct project setup prevents technical compatibility issues. Multi-camera synchronization before editing prevents sync problems from disrupting the edit. Rough cut before fine cut prevents detailed work from being wasted on structural problems. Audio post-production after video editing ensures that audio processing is applied to a confirmed editorial structure. Quality control before export prevents problems from reaching the audience.
For podcast video creators and content producers in Mumbai who want this complete professional workflow applied to their content consistently and at the highest quality standard, Fox Talkx Studio provides the expertise, infrastructure, and editorial judgment to deliver broadcast-quality results from every recording session.
Visit https://www.foxtalkxstudio.com/services/podcast-editing-in-mumbai to discover what a professionally managed video editing workflow looks like for your show.